
Review: PeakTech 3440 True Graphics Multimeter
on
 After unpacking the PeakTech 3440, it's first necessary to install the battery and put it on charge. For this purpose, a power adapter plugs onto the front of the meter and the rotary dial must be switched to the OFF position which is also the battery charge position. As the battery supplied was almost full, it wasn’t long before we could start using the multimeter.
My first impression of the PeakTech 3440 is that it is well built and protected by a very robust enclosure that fits well in the hand.
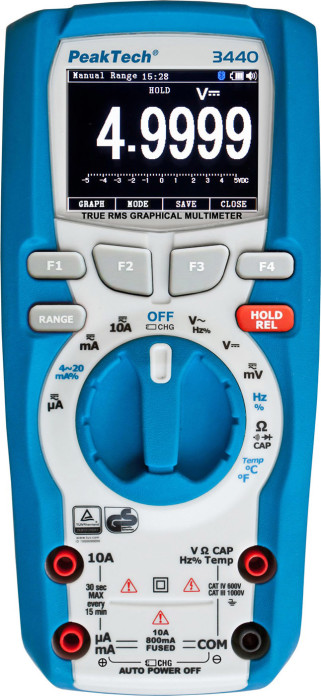
The biggest visible difference from more basic DVMs is the 2.2" graphic LCD (with a resolution of 320 x 240 pixels) and the four buttons F1 to F4 below the screen which allow you to select menu options displayed along the bottom of the screen depending on the operating mode.
Multimeter
The PeakTech 3440's display is dominated by the up to five-digit measured value (4-3/4-digit display (up to 49.999)) the units of measurement are displayed above the digits and the range used is shown beneath. Running along the top of the display is information showing auto/manual mode, the time of day, Bluetooth status, battery status and signal volume.Running along the bottom line of the PeakTech 3440's display are the assignments of the four function keys.
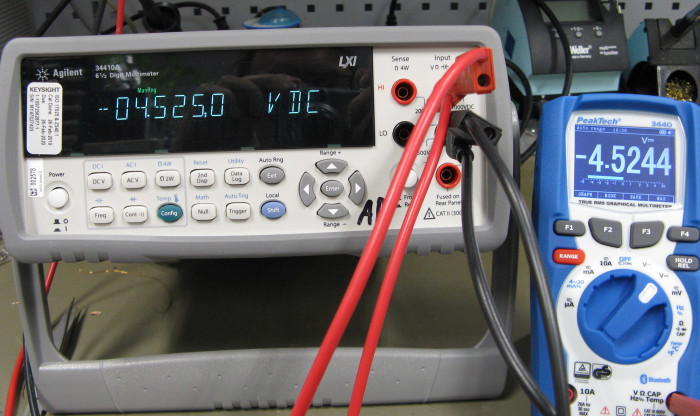
The accuracy of the meter measurements were checked in some of the ranges against a fairly freshly calibrated Keysight 34410A and the results were really impressive!
All normal measuring options are very easy to select thanks to the rotary switch and auto ranging.
Of course you can also set the measuring range manually. The front panel is fitted with four 4-mm sockets; bottom right is the common or COM terminal above it is the terminal for measuring voltage (V), resistance (Ω), capacitance (CAP), frequency (Hz) and temperature. The two sockets on the left side are connections for measuring current 10 A (top left) and mA / uA range (bottom left).
For temperature measurement, there is a K-type thermocouple and cable terminated in a standard yellow thermocouple plug. A 2-pin adapter provides the connection between the plug and the two sockets on the right of the front panel.
Discussion (0 comments)