Review: A kit for the Elektor Alarm Clock with 3-way Display
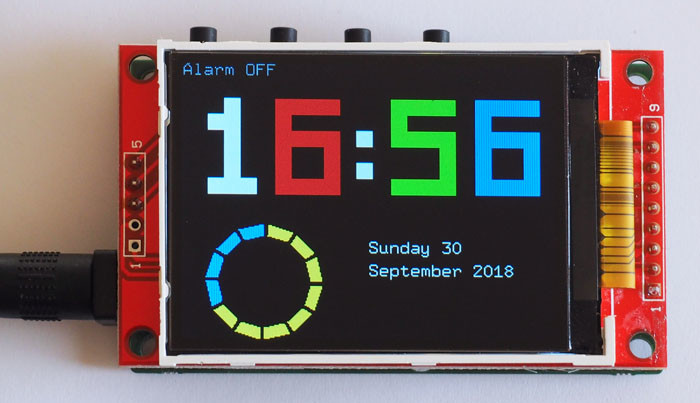
Olivier Croiset's idea for an alarm clock with its 2.2" TFT display and available as a kit from Elektor, was designed to be simple to use – a modern design which is also ideal for folks of my mother's generation who get frustrated at times by some of these new-fangled gadgets...
If you asked my mother to describe an alarm clock she would say that it was a bedside clock with hands on its face that you wind up and can set the time and alarm time by twiddling knobs at the back.
For an 85 year-old this is the traditional picture, imagine her surprise when she found out that you can buy a bedside clock that projects an image of the time on the bedroom ceiling. It’s not even necessary to turn your head and switch on a light to view the time — what’s more it doesn’t produce that annoying ticking sound, plus it automatically adjusts for summer/winter time (providing it has a time-reference radio link).
High time for a new alarm clock
With her brand new hi-tech alarm clock installed all went well for a while, but then came the day it was necessary to set the alarm time. To any millennial or even younger person this would not present too much of a problem, indeed they would consider it a failure if they needed to resort to the operating instructions at all — just playing with the buttons should be enough to work it out, no? For my mother’s generation it’s a different story; squinting at the instruction sheet with its tiny characters and seemingly nonsensical grammar was just too much. It wasn’t long before she had raked out her trusty wind-up alarm clock from the back of a drawer.
This was in the back of my mind when I spied the ‘3-way Display Alarm with 2.2" TFT’ by Olivier Croiset, which is available at various levels of build from the Elektor Store (as a ‘display only’, as a PCB, a programmed chip or as complete ready-assembled kit). After reading the article published in Elektor Magazine it all looked very promising and I thought, “This could be just what my mother needs and it looks pretty neat as well.”
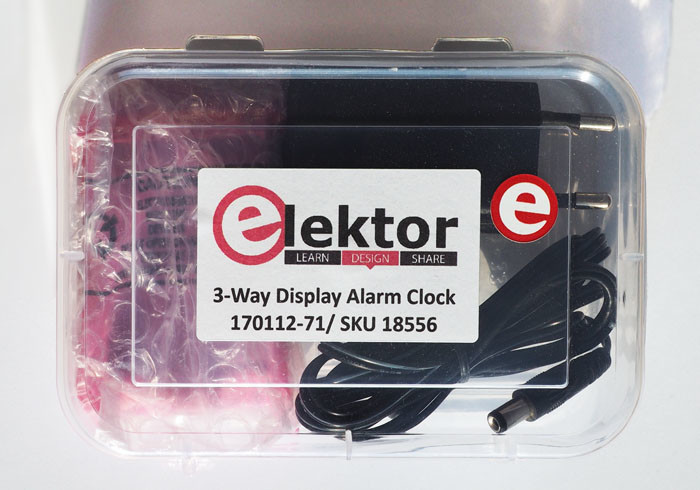
The clock kit comes in a typical Elektor box.
The kit
The cost is not likely to break the bank so I put in an order for the complete ready-built kit: it arrived safely in the typical Elektor plastic case containing the finished clock and power adapter. I felt a slight pang of disappointment that no soldering was necessary. No case was included but in the article download archive there are files included to 3D-print a suitable housing. I think eventually I will probably build a case for the clock using more traditional materials. For the time being I unpacked the clock and plugged it in.
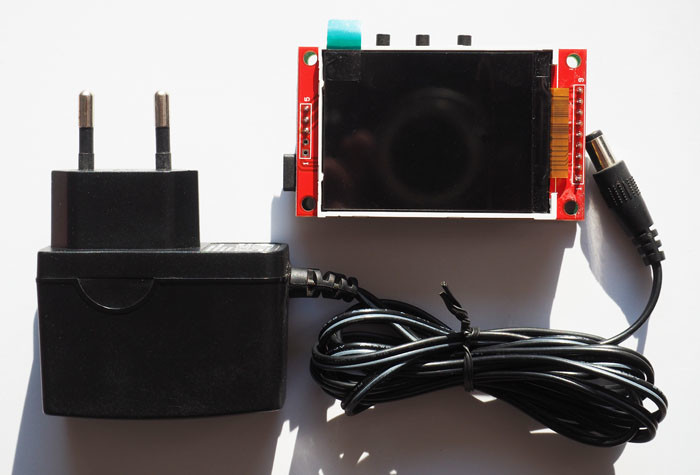
Along with the AC power adapter the clock consists of a PCB and a 2.2" TFT display panel.
Read full article
Hide full article
Add a rating to this article
★★★★★
★★★★★
Page 1 / 3
Login
No account yet?Register for free!
Forgot password?
Please enter your email address. Instructions for resetting the password will be emailed to you now.

Discussion (0 comments)