
Review: Andonstar AD407 Microscope
on
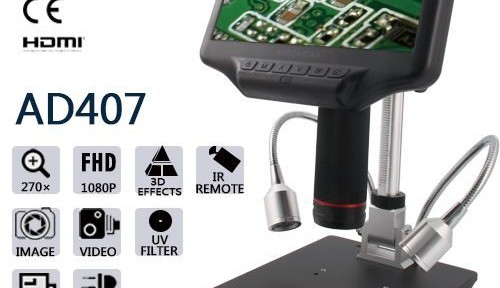
For me, the first time I saw one that started to look like it could actually be useful, was when the Andonstar A1 arrived on my work bench: finally an affordable and reasonably stable microscope that you could connect to a PC via USB, so that you could manipulate and inspect your circuit boards and soldering workmanship. Quite quickly this manufacturer followed up with models that had a built-in LCD, which removed the necessity (partially) of a connection to a computer: an enormous improvement. With every new addition to the Andonstar family that has progressively become available, a few things were changed, added and improved – you would expect that by now a point has been reached at which a new model is little more than ‘more of the same’. There are already four different models in the Elektor Store, and there is now the next version: the Andonstar AD407. What changes has the manufacturer made that justifies the existence of number five?
Regarding the implementation and price, this new microscope is closest to its predecessor, the ADSM302, and for this reason the characteristics and specifications of the AD407 are compared to this model and the other models are not considered here.
Image display and storage
When you put the two microscopes side-by-side (Figure 1), the difference in screen size is immediately obvious. The screen diagonal for the LCD of the new model is more than 5 cm (2") bigger, which is an enormous improvement. While in most cases it was reasonably comfortable to work with the 5” screen of the older model, in our lab we nevertheless connected an external 10” monitor via HDMI for the more detailed fine work.
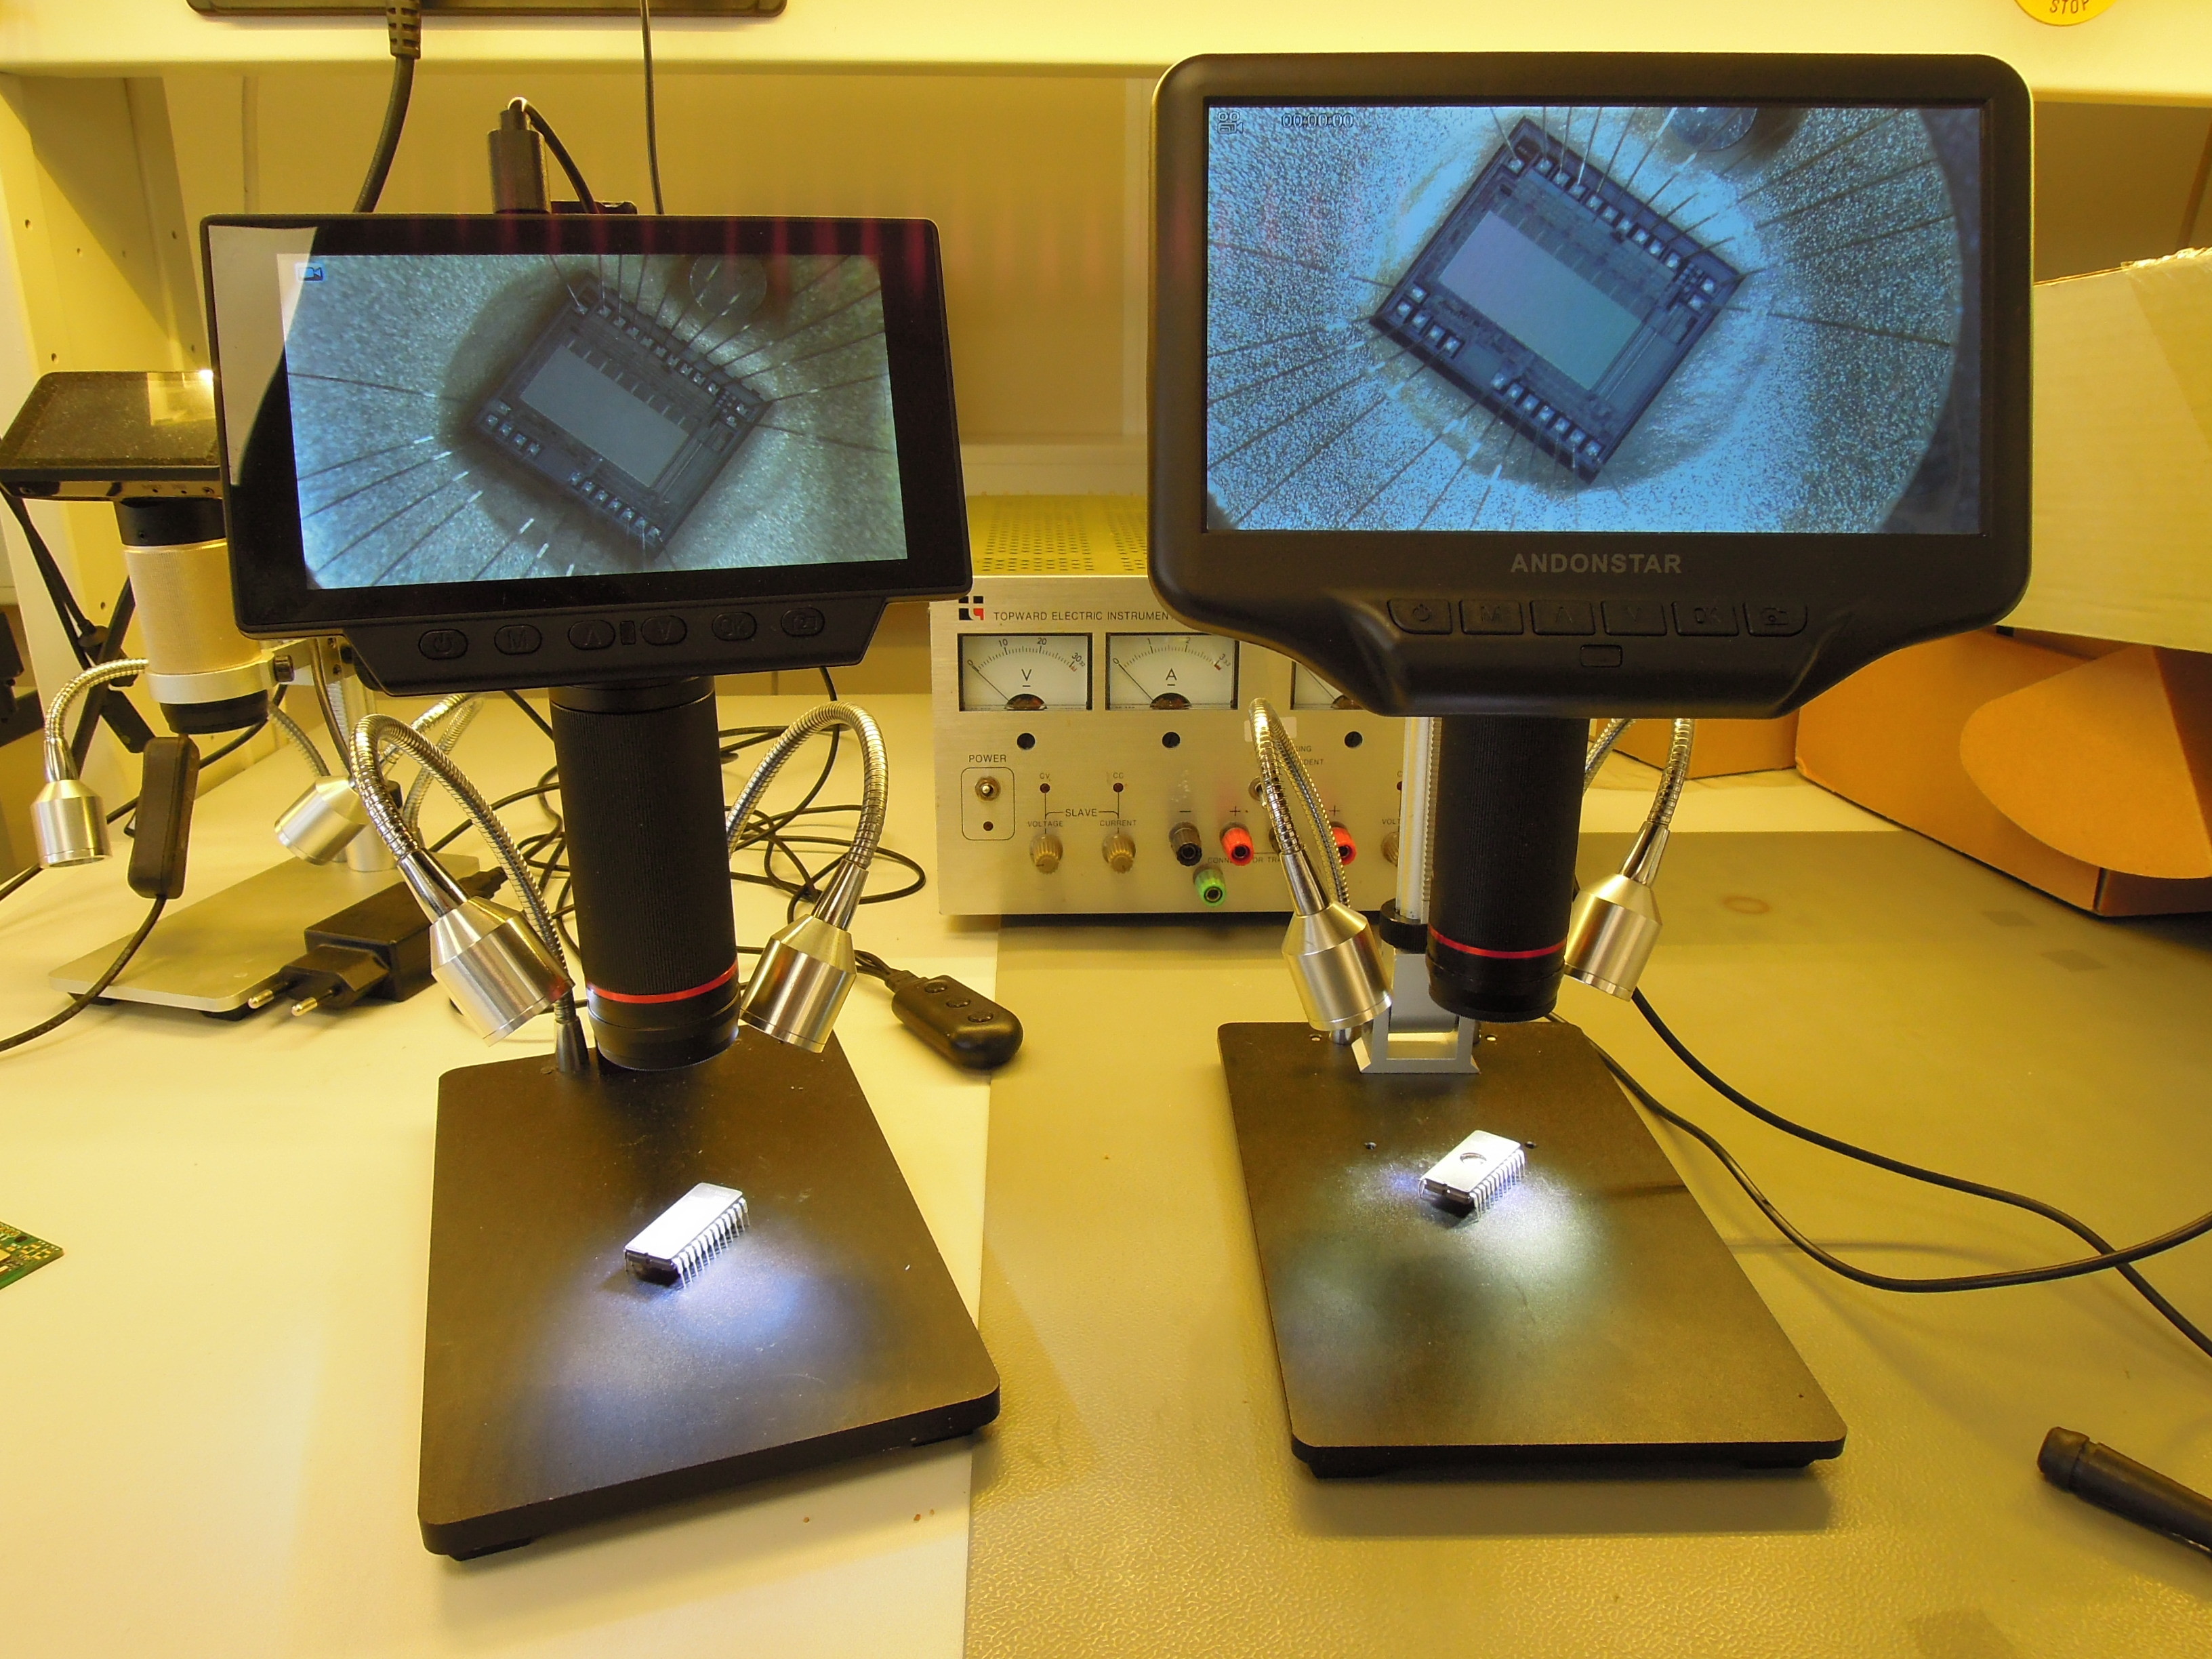
When it comes to the image quality, the already limited documentation from Andonstar is somewhat vague. According to the manufacturer, the AD407 has a 4-megapixel sensor, while the ADSM302 doesn't get any further than 3 megapixels.
Both microscopes offer, according to the specifications, a photographic resolution of 12 megapixels (4032 x 3024), and these values also show up when you open the photos (JPEG files) on a PC. Apparently extra pixels are added, where you would expect that the image quality of the new Andonstar is better than that of the older one. To make the choice even more difficult: the old one has a digital zoom up to 4x, while the new one doesn't get any further than 3x. When it comes to the ability to display details, the difference isn't that great, but the image from the AD407 is clearly sharper.
Concerning the video output via HDMI, the older one clearly has to concede superiority to its successor, both in terms of resolution and frame rate. Now I don't think this is very important for the types of jobs we do here, but these specs are of course important when you want to do presentations or demonstrations using a large screen.
With the AD407 there is no longer the option of transferring the image to a computer via USB, which I certainly do not experience as a shortcoming. With the large LCD and the HDMI output you do no longer need USB for a real-time image display — and in any case this didn't always work all that smoothly with the older models from Andonstar. And if you want to keep the images, you can store photos and/or videos on a micro-SD card, and subsequently process them further on a computer.
Stand
Both microscopes have a sturdy, robust stand about which there is little to say. For the illumination of objects they are provided with two LED spotlights on flexible arms, and while these do provide light, they also are, in my experience, ‘always’ in the way or in the wrong location. When you want to work under the microscope, your hands or tools interfere with the lights or you block the light so that you cannot see properly what you are doing. Directing the spotlights is not that easy either, because they spring back when you release them. It actually puzzles me why Andonstar persists with this system: a ring of LEDs around the lens is, in my experience, much better in all aspects.
The stands for the ADSM302 and the AD407 exhibit considerable differences from a mechanical perspective that – depending on the objects you want to examine – can be decisive when you have to make a choice. Firstly, the great advantage of the stand for the ADSM302: the maximum object distance (that is, the distance between object and lens) is about 12 cm, while with the new stand the lens doesn't reach more than 8 cm above the object table. With a little bit of improvisation a solution can certainly be found for this, but during ‘normal use’ the new version is a little less capable than its predecessor. On the other hand, the AD407 has a neat feature that could be very handy: you can tilt the entire stand on an angle (Figure 2) so that you can also examine solder connections from the side. A useful option that is missing from its predecessor.

Accessories
Just as the ADSM302, the AD407 is supplied with a power supply and a cable with a jack for the light source and a micro-USB plug for the power supply for the microscope itself. There is a small improvement here too: the USB connection now has a right-angle plug, with the result that the power supply cable is less likely to break, a fault that tends to appear with the older models after a period of time (Figure 3).

Both microscopes are supplied with an infra-red remote control, that in my experience is only useful when you want to take pictures and want to prevent the image from shifting or blurring. What is experience? I have only handled the microscope when unpacking and writing this review. In normal use of the microscope (and in our lab that means ‘soldering and/or checking of solder joints’) the remote has no additional value, in my opinion.
Furthermore, the AD407 contains a hex wrench for assembling the stand and – according to the manual — a UV filter. The latter was missing from the microscope that I received for this review, but to be honest, I cannot immediately think of an application for it.
Then remains the question: if you already have an older Andonstar model, would you consider the purchase of the new AD407? With the A1, V160 and ADSM201 my answer will be a resounding ‘yes’, but in the case of the ADSM302 I'm a little more reserved.
It is quite handy to be able to inspect an object from an angle, but: you do not necessarily need such a stand for that (you can also place the object at an angle). The large LC display of the new model finally turns it into a real stand-alone microscope. As already mentioned, in the Elektor lab we use, in many cases, a (small) additional monitor next to the ADSM302, but with the AD407 this additional clutter on the work bench becomes unnecessary. This is for me a more than sufficient reason to give a clear preference to the new Andonstar, if I were to make a new purchase. And if I already had an ADSM302, and the budget permitted it, then I would certainly replace it with an AD407.
Discussion (1 comment)