Circuit: Six-Channel Temperature Monitor and Logger
Monitor up to six temperature points from -240°C to +850°C with this 8051-based temperature monitor and logger. Ideal for industrial applications, it uses Pt100 RTDs for precise measurement, offering both standard and debug firmware options.
Temperature measurement is everywhere — from your Bluetooth speaker warning you it's overheating to industrial process control requiring precise multi-point monitoring. While many thermometers measure one or two temperatures, certain applications demand more. The Six-Channel Temperature Monitor and Logger design that we presented in 2019 is capable of monitoring up to six different temperature points, spanning an impressive range from -240°C to +850°C.
An 8051-Based Temperature Monitor
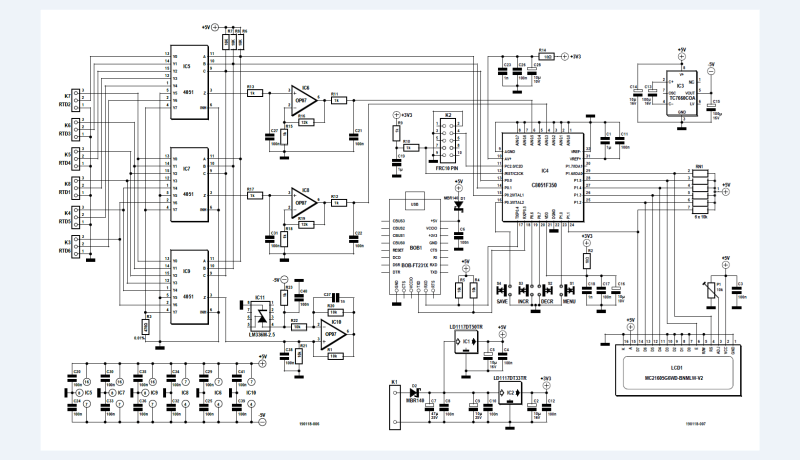
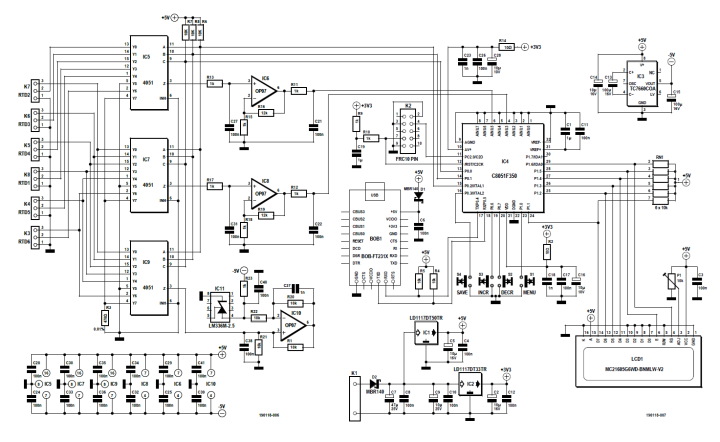
Refer to the schematic for the multi-node temperature logger. The analog input stage is on the left; the digital part on the right.
Schematic of the multi-node temperature logger. Click to download a PDF and to zoom in.
Clemens Valens and Sunil Malekar presented the 8051-based temperature monitor in 2019. To measure temperature, the project uses resistance temperature detectors (RTD) in the shape of Pt100 probes. The RTD is a device consisting of a length of metal wire with a known resistance/temperature relationship spiraled on a suitable supporting material. A Pt100 probe is an RTD made from platinum wire ("Pt"). The number "100" indicates that its resistance is 100 Ω at 0°C. Note: an RTD is not a thermocouple.
"A thermocouple is a junction of two different metals that produces a temperature-dependent voltage as a result of the thermoelectric (Seebeck) effect," explained Valens and Malekar. "Therefore, a thermocouple does not need a power source to operate whereas an RTD requires some form of excitation. Thermocouples tend to be less precise than RTDs, but they are very cheap."
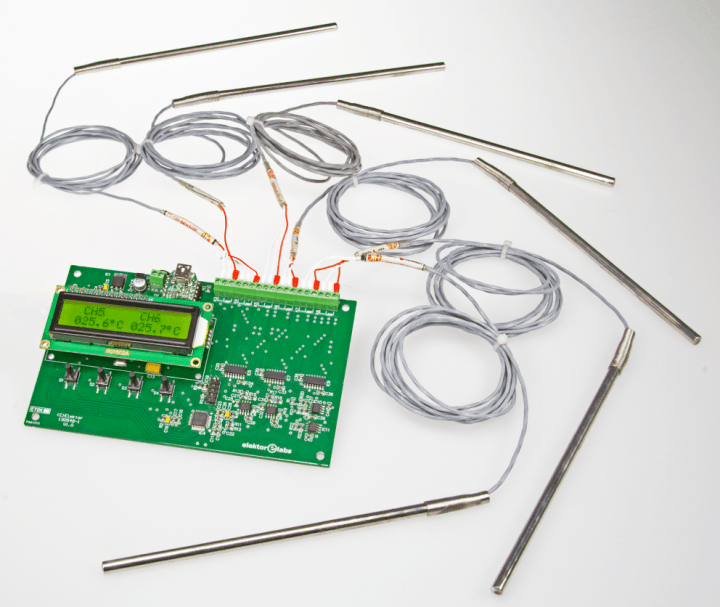
The temperature monitor and logger project.
Using the System
The designers explained that there are two firmwares for the temperature monitor project, one with debugging options (‘d’ suffix) and one with fewer options. The main UI functions are the same for both.
• ‘Menu’ (S1): press this button to enter the settings “page”. On this page you can toggle the temperature unit between Celsius and Fahrenheit by pressing S1 again. With the keys ‘Decr’ (S2) and ‘Incr’ (S3) you can adjust the display refresh value from one second to one minute. When done, you can either press ‘Save’ (S4) to store the new settings in nonvolatile memory or let the page time out. When the page times out the new settings will be used until the next change or a power cycle.
• ‘Save’ (S4): press to recalibrate the system.
The debug firmware adds to this:
• ‘Decr’ (S2): pressing this key during startup and keeping it pressed until the splash screens have passed will skip ADC calibration at startup. Use ‘Save’ (S4) to calibrate when you want to.
• 'Decr’ (S2) and ‘Incr’ (S3): pressing these keys at the same time will open the debug page where you can see raw 16-bit ADC values for both the signals ‘V’ (RTD) and ‘VRW’ (Wire). Pressing ‘Incr’ will select the next channel. Press ‘Save’ (S4) to return to normal mode.
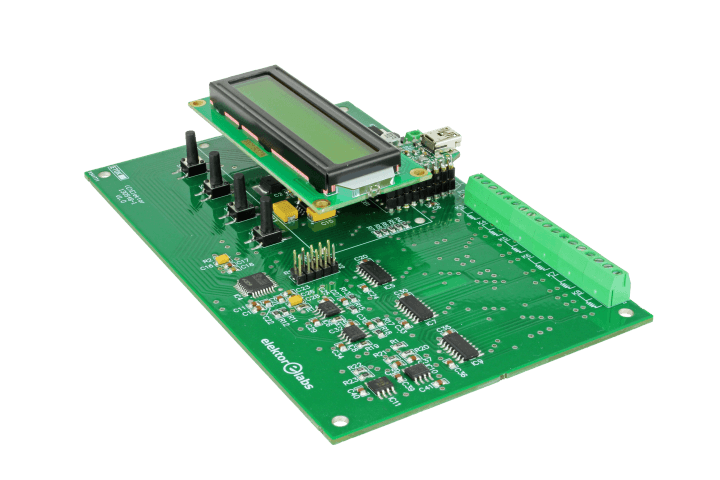
The assembled main board.
Temperature Monitor Project
The article, “6-Channel Temperature Monitor & Logger” appeared in Elektor July/August 2019. You can access the article free during the two weeks following the publication of this post. If and when you start a project, consider sharing your progress on the Elektor Labs platform!
Editor's Note: This article was first published in a 2019 edition of ElektorMag. Some of the components, PCBs, products, or links might not be available any longer. Still, we think the content is a valuable resource, and we hope it inspires you to begin new electronics projects of your own.
Subscribe
Tag alert: Subscribe to the tag Circuits & Circuit Design and you will receive an e-mail as soon as a new item about it is published on our website!




Discussion (0 comments)