
IN-12 Nixie Clock Kit Assembly Guide
on
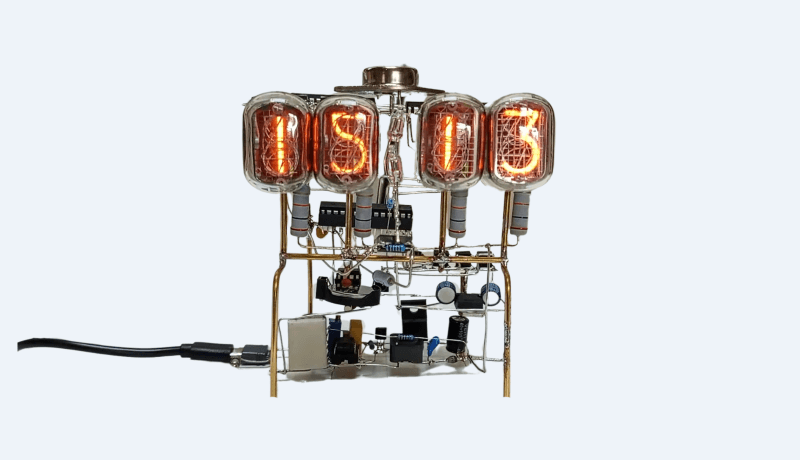
Have you ever seen those YouTube videos where electronic circuits are assembled “in the air”, without printed circuit boards? With rare exceptions, a circuit will almost always perform better, be more reliable, and easier to build if it's assembled on a PCB instead. If this is seen not as professional electronics but rather as a game or a hobby, then this type of construction can be entertaining, somewhere between sculpture and electronics. If you’re not afraid of a challenge, this detailed build video of a four-digit IN-12 Nixie tube clock is worth watching!
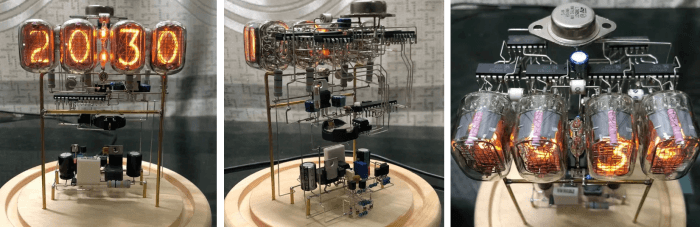
This isn’t a typical kit: there is no PCB, and all components are soldered free-form using wire, requiring precision, patience, and a careful reading of the schematic. The video shows you one of the ways to assemble the clock; there are probably other ways! This starts with the high-voltage power supply, moving on to the real-time clock and control circuit, and ending with the wiring of the IN-12 Nixie tubes and display drivers. Of course, you’ll see the clock in action at the end.
The kit comes without a detailed step-by step manual, which makes the video especially useful for those considering this build. Along the way, you’ll see techniques for mechanically supporting the circuit, aligning components without a PCB, and safely dealing with voltages over 170 volts. Is this clock for you? Watch the video below, decide whether you're ready to take on the challenge, and get your kit in the Elektor Store.
Explore More DIY Electronics
Want to learn more about ESP32, sensors, microcontrollers, or electronics in general? Check out all the educational videos and tap into the knowledge of experts on our Elektor YouTube channel and our Elektor Industry YouTube channel. Subscribe to Elektor's weekly newsletter to receive a regular flow of expert tech knowledge and insights.

Discussion (2 comments)