
Post project 16: Bury the Hatchet, Unbury the Axe (2)
September 20, 2013
on
on
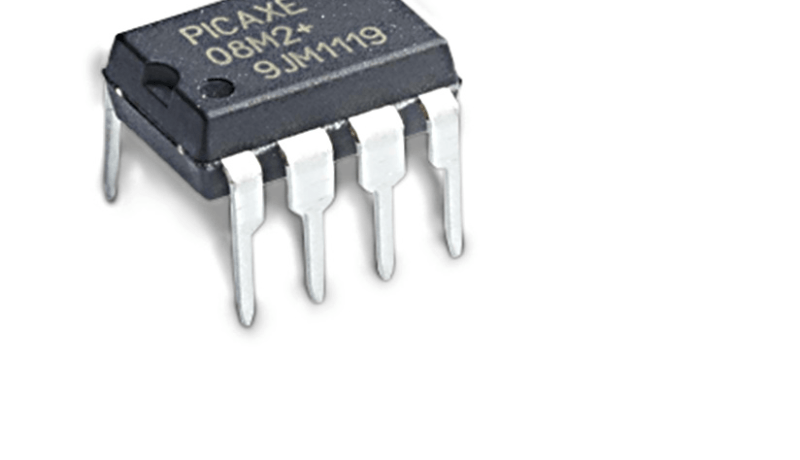
In this article series we cover a range of topics relevant
to the design of electronics projects based on the PICAXE
range of microcontrollers. This second installment is about
circuits to provide inputs and outputs for a PICAXE chip,
using common electronics components. The story also aims
to show you what factors to consider/calculate when picking
components for your own interfacing circuits.
Don't miss any project, take out a free membership to Elektor.POST now!
The first article in this series brought to you by Elektor.POST was an introduction to the PICAXE system [1], including examples on how to build the PICAXE programming circuit, and how to program a PICAXE chip to control an LED with a pushbutton. The upcoming articles will cover more advanced, chip-specific interfacing capabilities available through PICAXE. The capabilities of a project based on a PICAXE chip can be enhanced by the addition of special ICs and peripherals, like extra memory, keyboards, LCD displays, or even a PC through a serial connection.
Read full article
Hide full article
Discussion (0 comments)