
Waveform Visualizer Turns Room Noise Into Wall Art
on
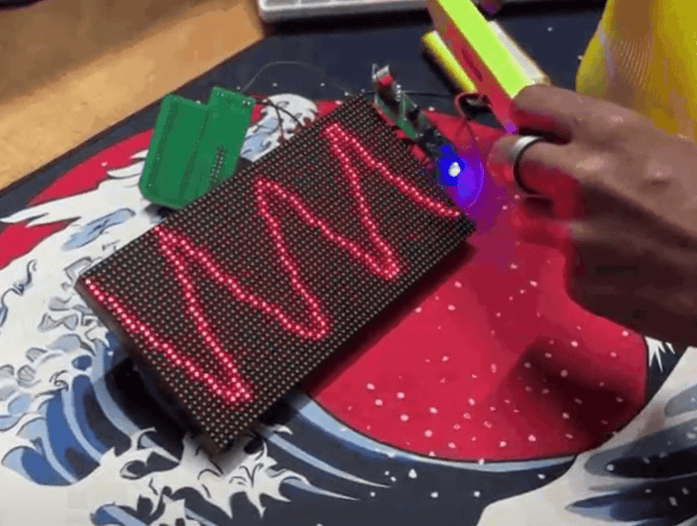
Waveform Visualizer is a small, wall-mounted display that makes “room sound” visible: typing, fans, music, even a 3D printer — everything becomes a moving waveform you can glance at like an ambient instrument panel. The result looks more like a piece of minimalist wall art than a typical maker build.
Waveform Visualizer: What It Does
The WaveFORM device listens to the sound in a room and plots it as a scrolling line graph (time on the X axis, amplitude on the Y axis). In its default look, the trace stays green, but it can shift toward red when the amplitude crosses a threshold—an easy way to spot sudden noise spikes without staring at a meter.
Hardware: Pico 2 + Mic Amp + HUB75 Matrix
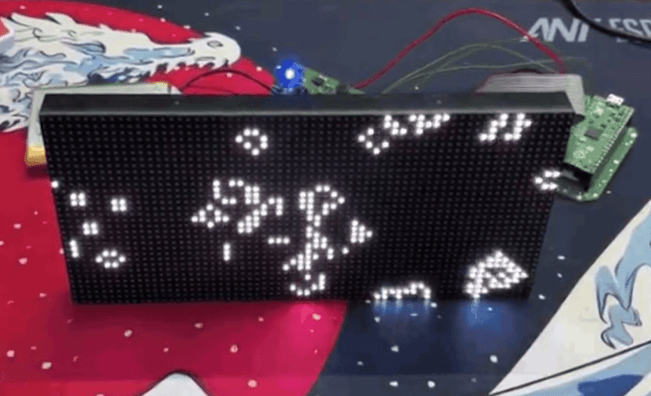
At the core is a Raspberry Pi Pico 2, paired with a MAX9814 microphone amplifier module and a HUB75 RGB LED matrix panel. The Pico 2 repeatedly samples the mic signal, builds a buffer of readings, and renders a smoothed curve across the matrix in real time.
The project uses custom PCBs to keep it tidy: one board integrates the Pico 2 and the microphone front end, and another handles power and buttons (including an IP5306-based power-management setup). Everything fits into a 3D-printed enclosure designed for wall mounting, with the interactive parts grouped on one side for a clean install.
Build Notes That Make It Feel “Finished”
It’s not just the waveform effect — this build leans into product-like details. The enclosure is modeled around the real components (matrix, buttons, mic module, and Pico 2), and the internal layout is planned so the display sits front-and-center while the controller and battery live behind. The end result is an always-on background display that’s readable from across the room without being visually noisy.
Ideas for Taking It Further
Once you’ve got the basic audio capture and rendering working, there’s plenty of scope for “version 2” thinking: selectable display modes (scope vs. bars), peak-hold behavior, automatic gain/threshold calibration per room, or adding a clock/status overlay when the room is quiet. The original creator has also mentioned future improvements like adding a clock function and Wi-Fi.

Links and Related Reading

Discussion (0 comments)