
LoRaWAN Gateway Setup: Connect a Custom Node to TTN
on
LoRaWAN Gateway Setup, Step by Step
LoRaWAN gateway setup starts with three moving parts: a gateway, a network server account (TTN/The Things Stack), and a node that can join the network. In the video snippet below, Elektor’s Saad Imtiaz demonstrates the end-to-end flow, from provisioning to seeing real telemetry.
The practical value here is that you do not need a full “smart home ecosystem” to start collecting long-range data. A basic indoor gateway can forward uplinks to TTN, and you can then route decoded payloads into tools you already use for automation and visualization.
Watch the entire show here: Unlock the Power of LoRaWAN: Learn to Build Your Own IoT Network
What You Need for a First Build
A minimal setup looks like this:
- One LoRaWAN gateway with backhaul (Ethernet or Wi-Fi), configured for your region (for example, EU863–870).
- A node (ESP32-class MCU plus a LoRa/LoRaWAN radio, or an off-the-shelf LoRaWAN dev board) that supports OTAA.
- A TTN/The Things Stack application to register the device identifiers and keys, plus a decoder to turn payload bytes into meaningful values.
- An integration path into your dashboard (for example, MQTT into Node-RED or Home Assistant).
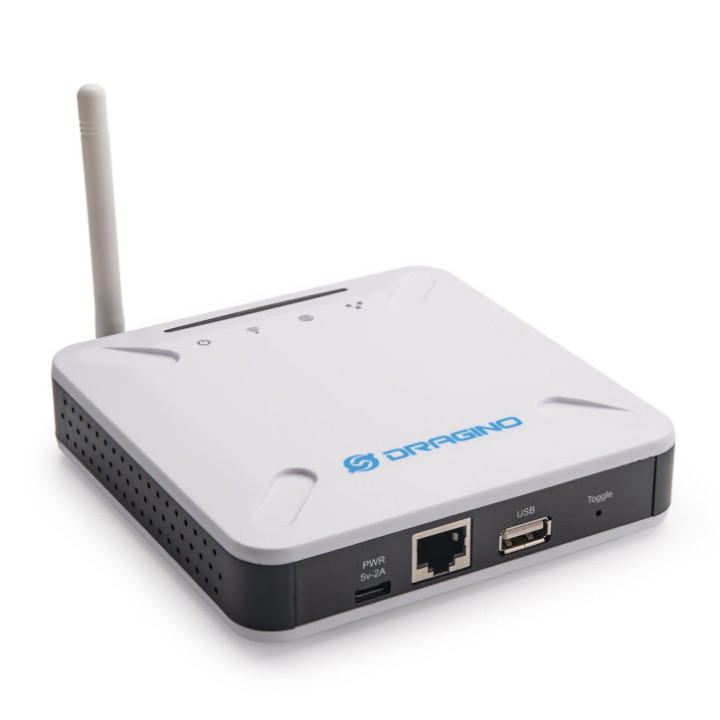
If you want an Elektor reference point for gateway hardware, see our Dragino LPS8 Indoor Gateway review.
How the Pieces Fit Together
LoRa handles the radio modulation; LoRaWAN sits above it and defines how devices join, schedule transmissions, and format messages. In most DIY deployments, OTAA gives you the cleanest workflow: the node sends a join-request, the network replies with a join-accept, and both sides derive session keys for ongoing traffic.
Why This Is Worth Doing at Home
Once you have a working pipeline, you can place battery-powered sensors well outside Wi-Fi range and still pull small amounts of data reliably. That makes LoRaWAN a good fit for things like outdoor temperature/humidity, gate/door state, water-tank level, or periodic air-quality readings, without running power or fighting coverage.
LoRaWAN Gateway Setup Checklist
- Confirm your regional frequency plan (EU868, US915, etc.) before you buy hardware.
- Register the gateway and verify it shows traffic in the network console.
- Create an application, register the device (DevEUI/AppEUI/AppKey), and join via OTAA.
- Add a payload formatter/decoder early, so you can validate “real numbers” instead of hex.
- Forward decoded data to your dashboard stack (MQTT/Node-RED/Home Assistant) and set a basic alert.
If you want an Elektor reference point for gatewayhardware, see our Dragino LPS8 Indoor Gateway review.
For a clearer breakdown of how devices, gateways, and the network/application layers fit together, see this TTN architecture overview.


Discussion (0 comments)