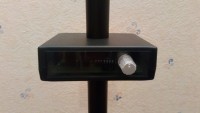
Dimmer controlled by a universal infrared remote control.
Control your living room floor lamp with your infrared remote control.
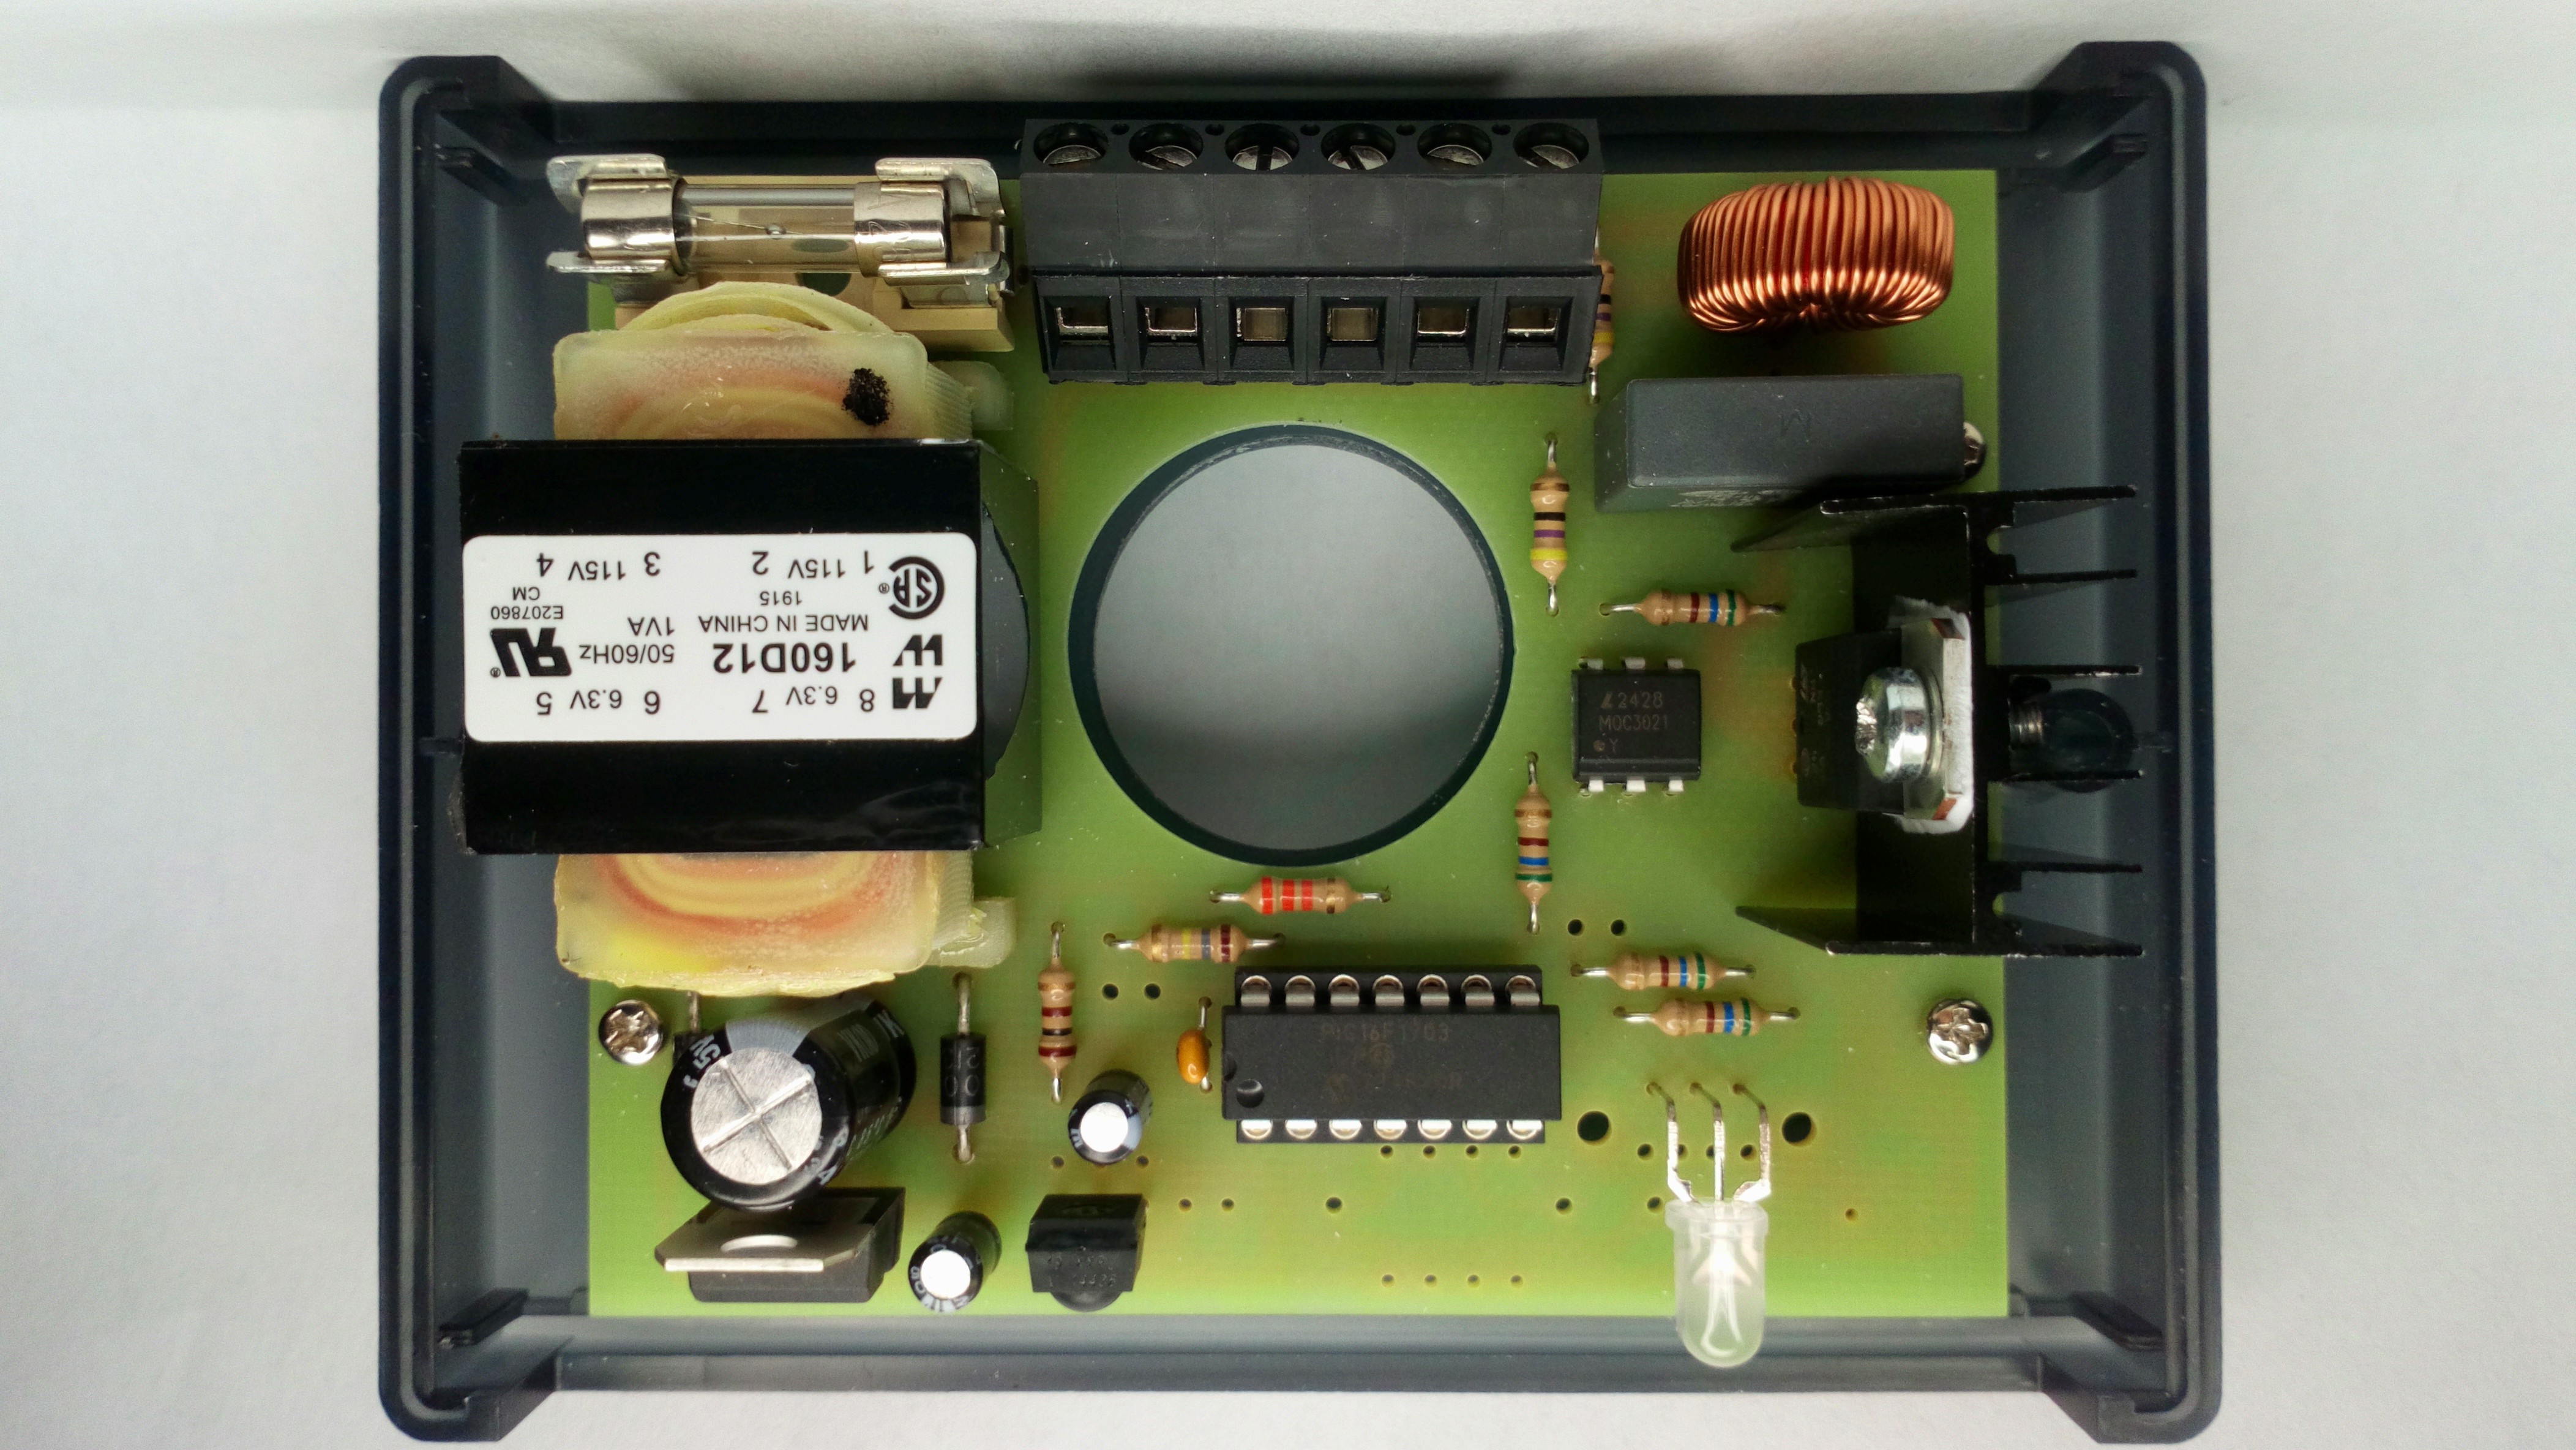
Highlights: Microchip microcontroller with a Zero-Cross Detector (ZCD): PIC16F1703. Leading edge (triac). Main supply : 110V or 230V. Automatic selection 50/60 Hz. Adjustable resolution ( switch 50/102 , 37 to 206 by soft ). Automatic learning of infrared remote control: - Pulse Distance Modulation 6 to 48 Bits ( NEC,JVC,RCA,Mitsubishi,Panasonic....). - Pulse Width Modulation Sony 12/15/20 bits. - RC5 Philips. - RC6 Philips. - Nokia protocol ( NRC17 15 or 16 bits ) added with the last firmware. Up to 6 keys : ON/OFF,Down,Up,Favorite1,Favorite2,Delayed Shutdown. Gradual switching ON/OFF. Delayed Shutdown ( switch 10/20 minutes @ 50 Hz , 1 minute to 4.25 hours by soft ) . Minimum and maximum lighting adjustment ( Rotary encoder version only ).
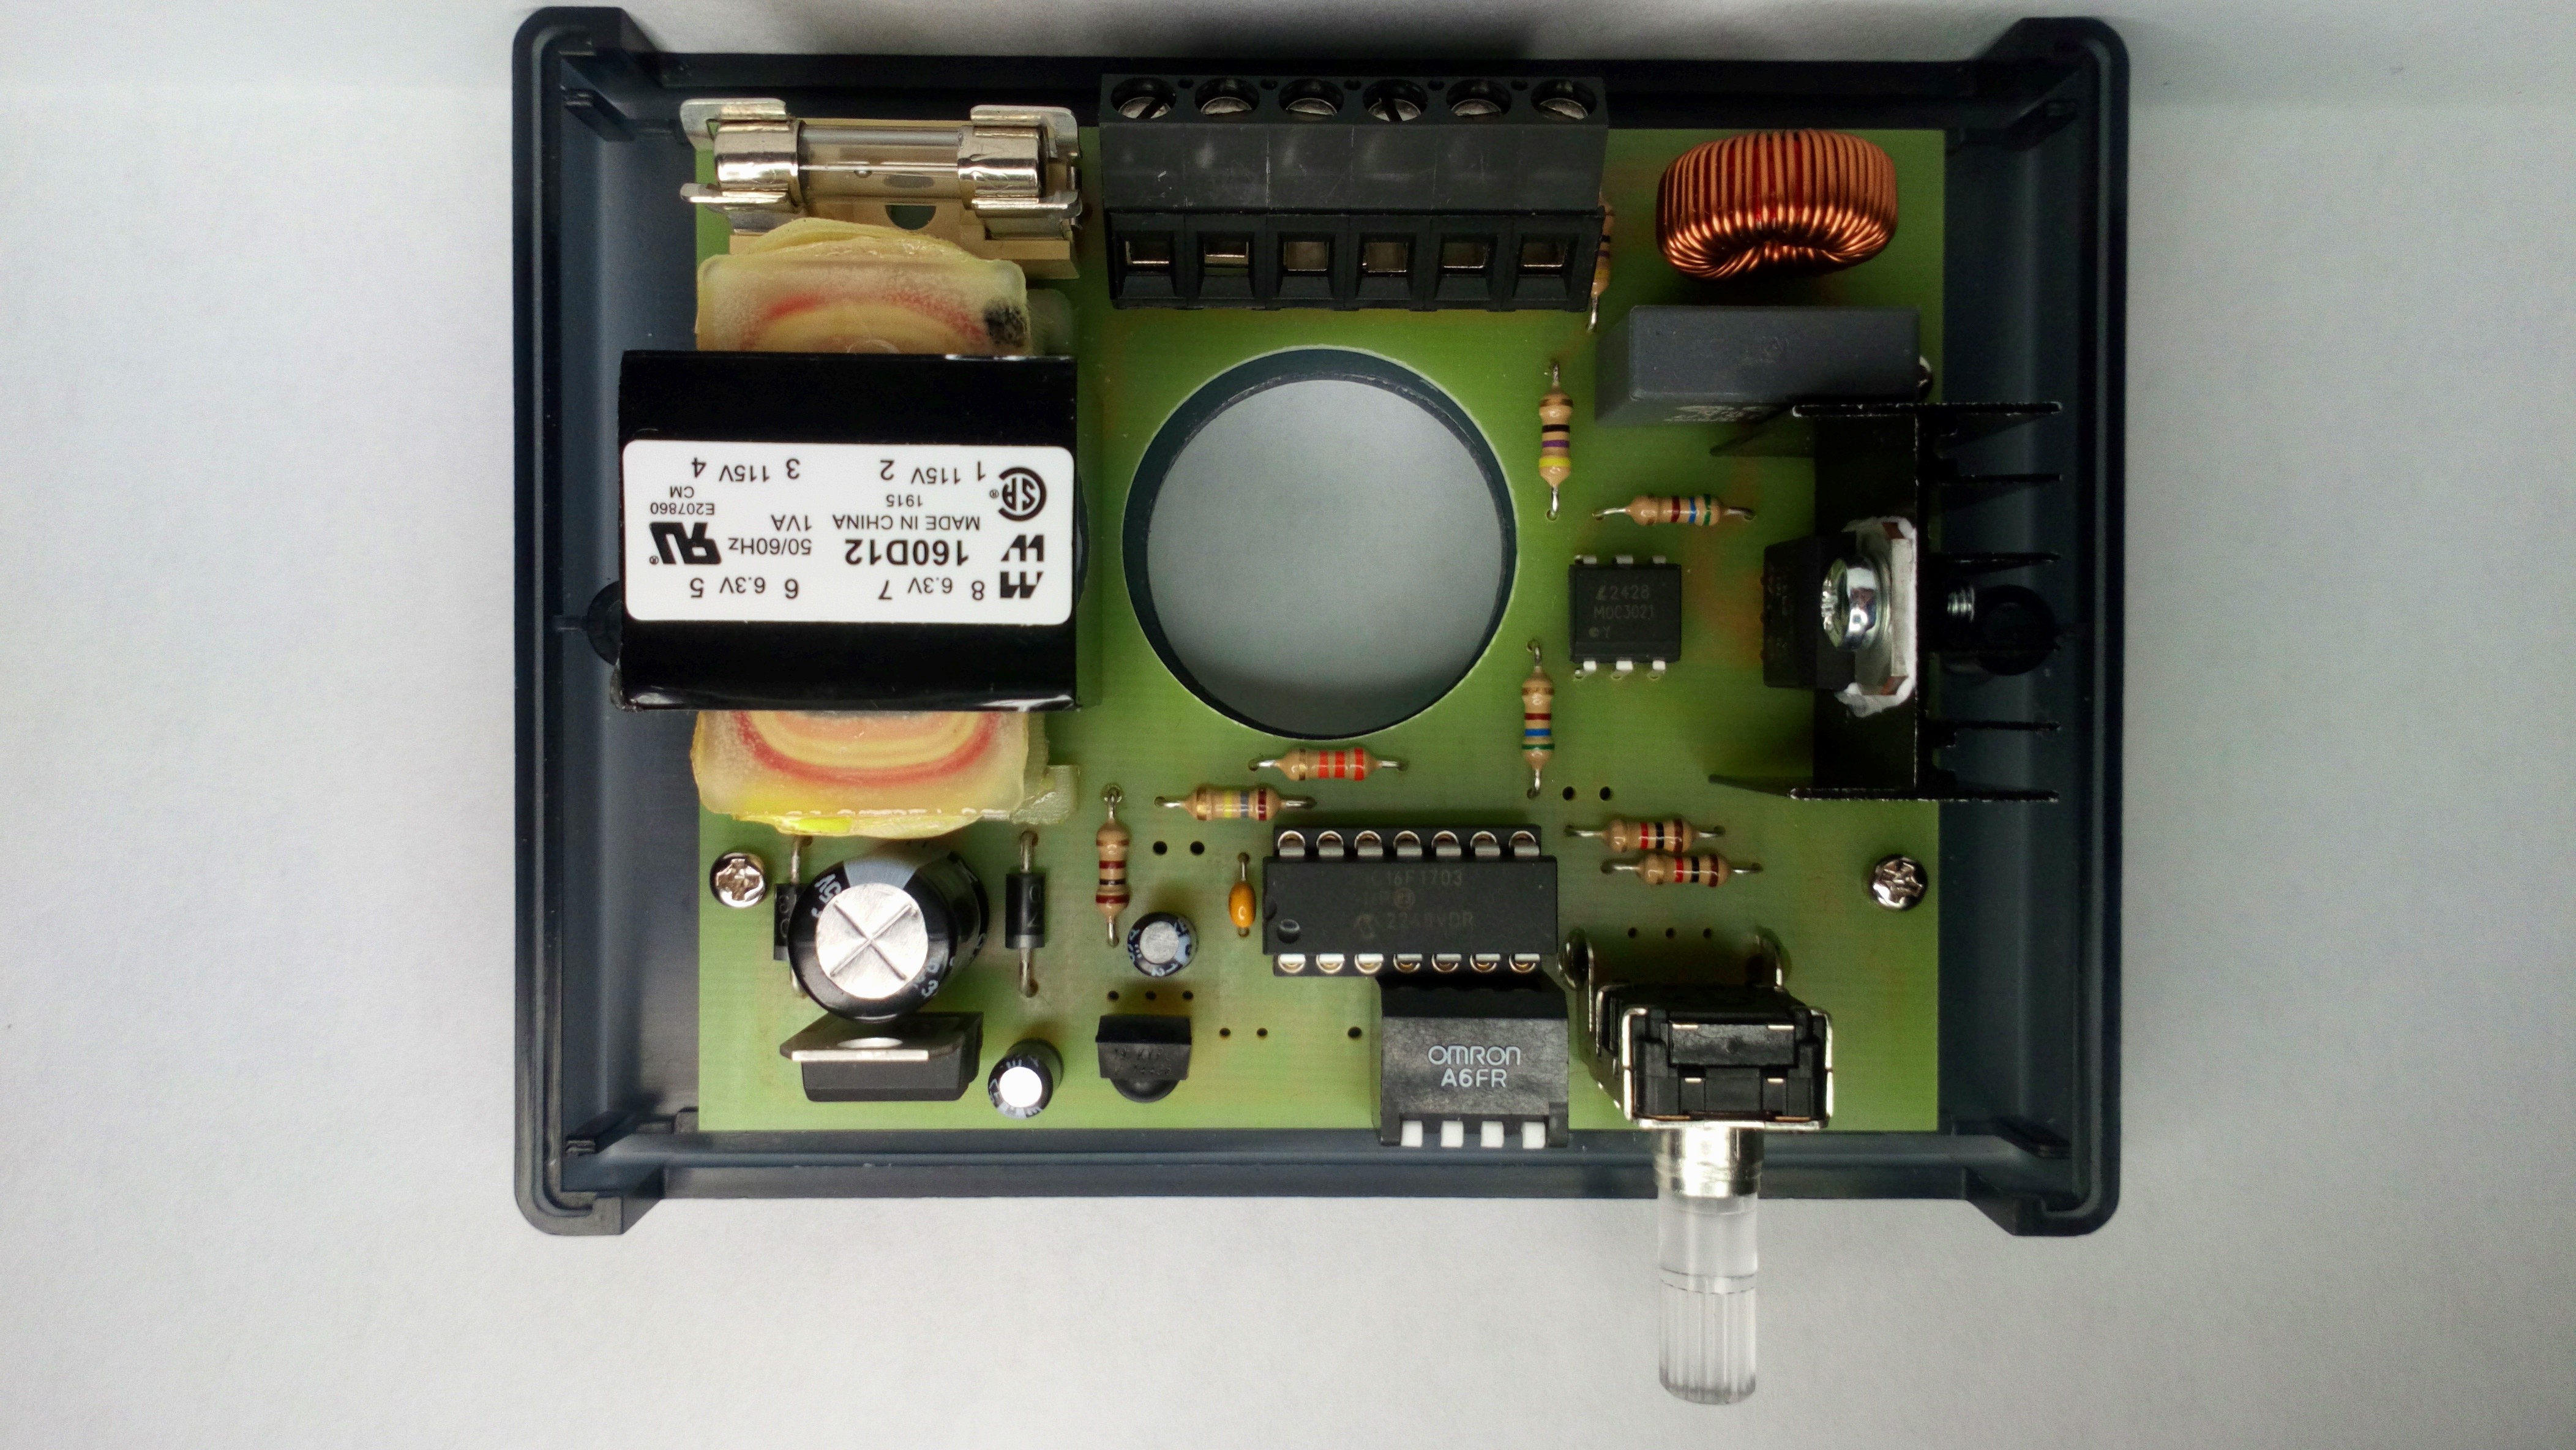
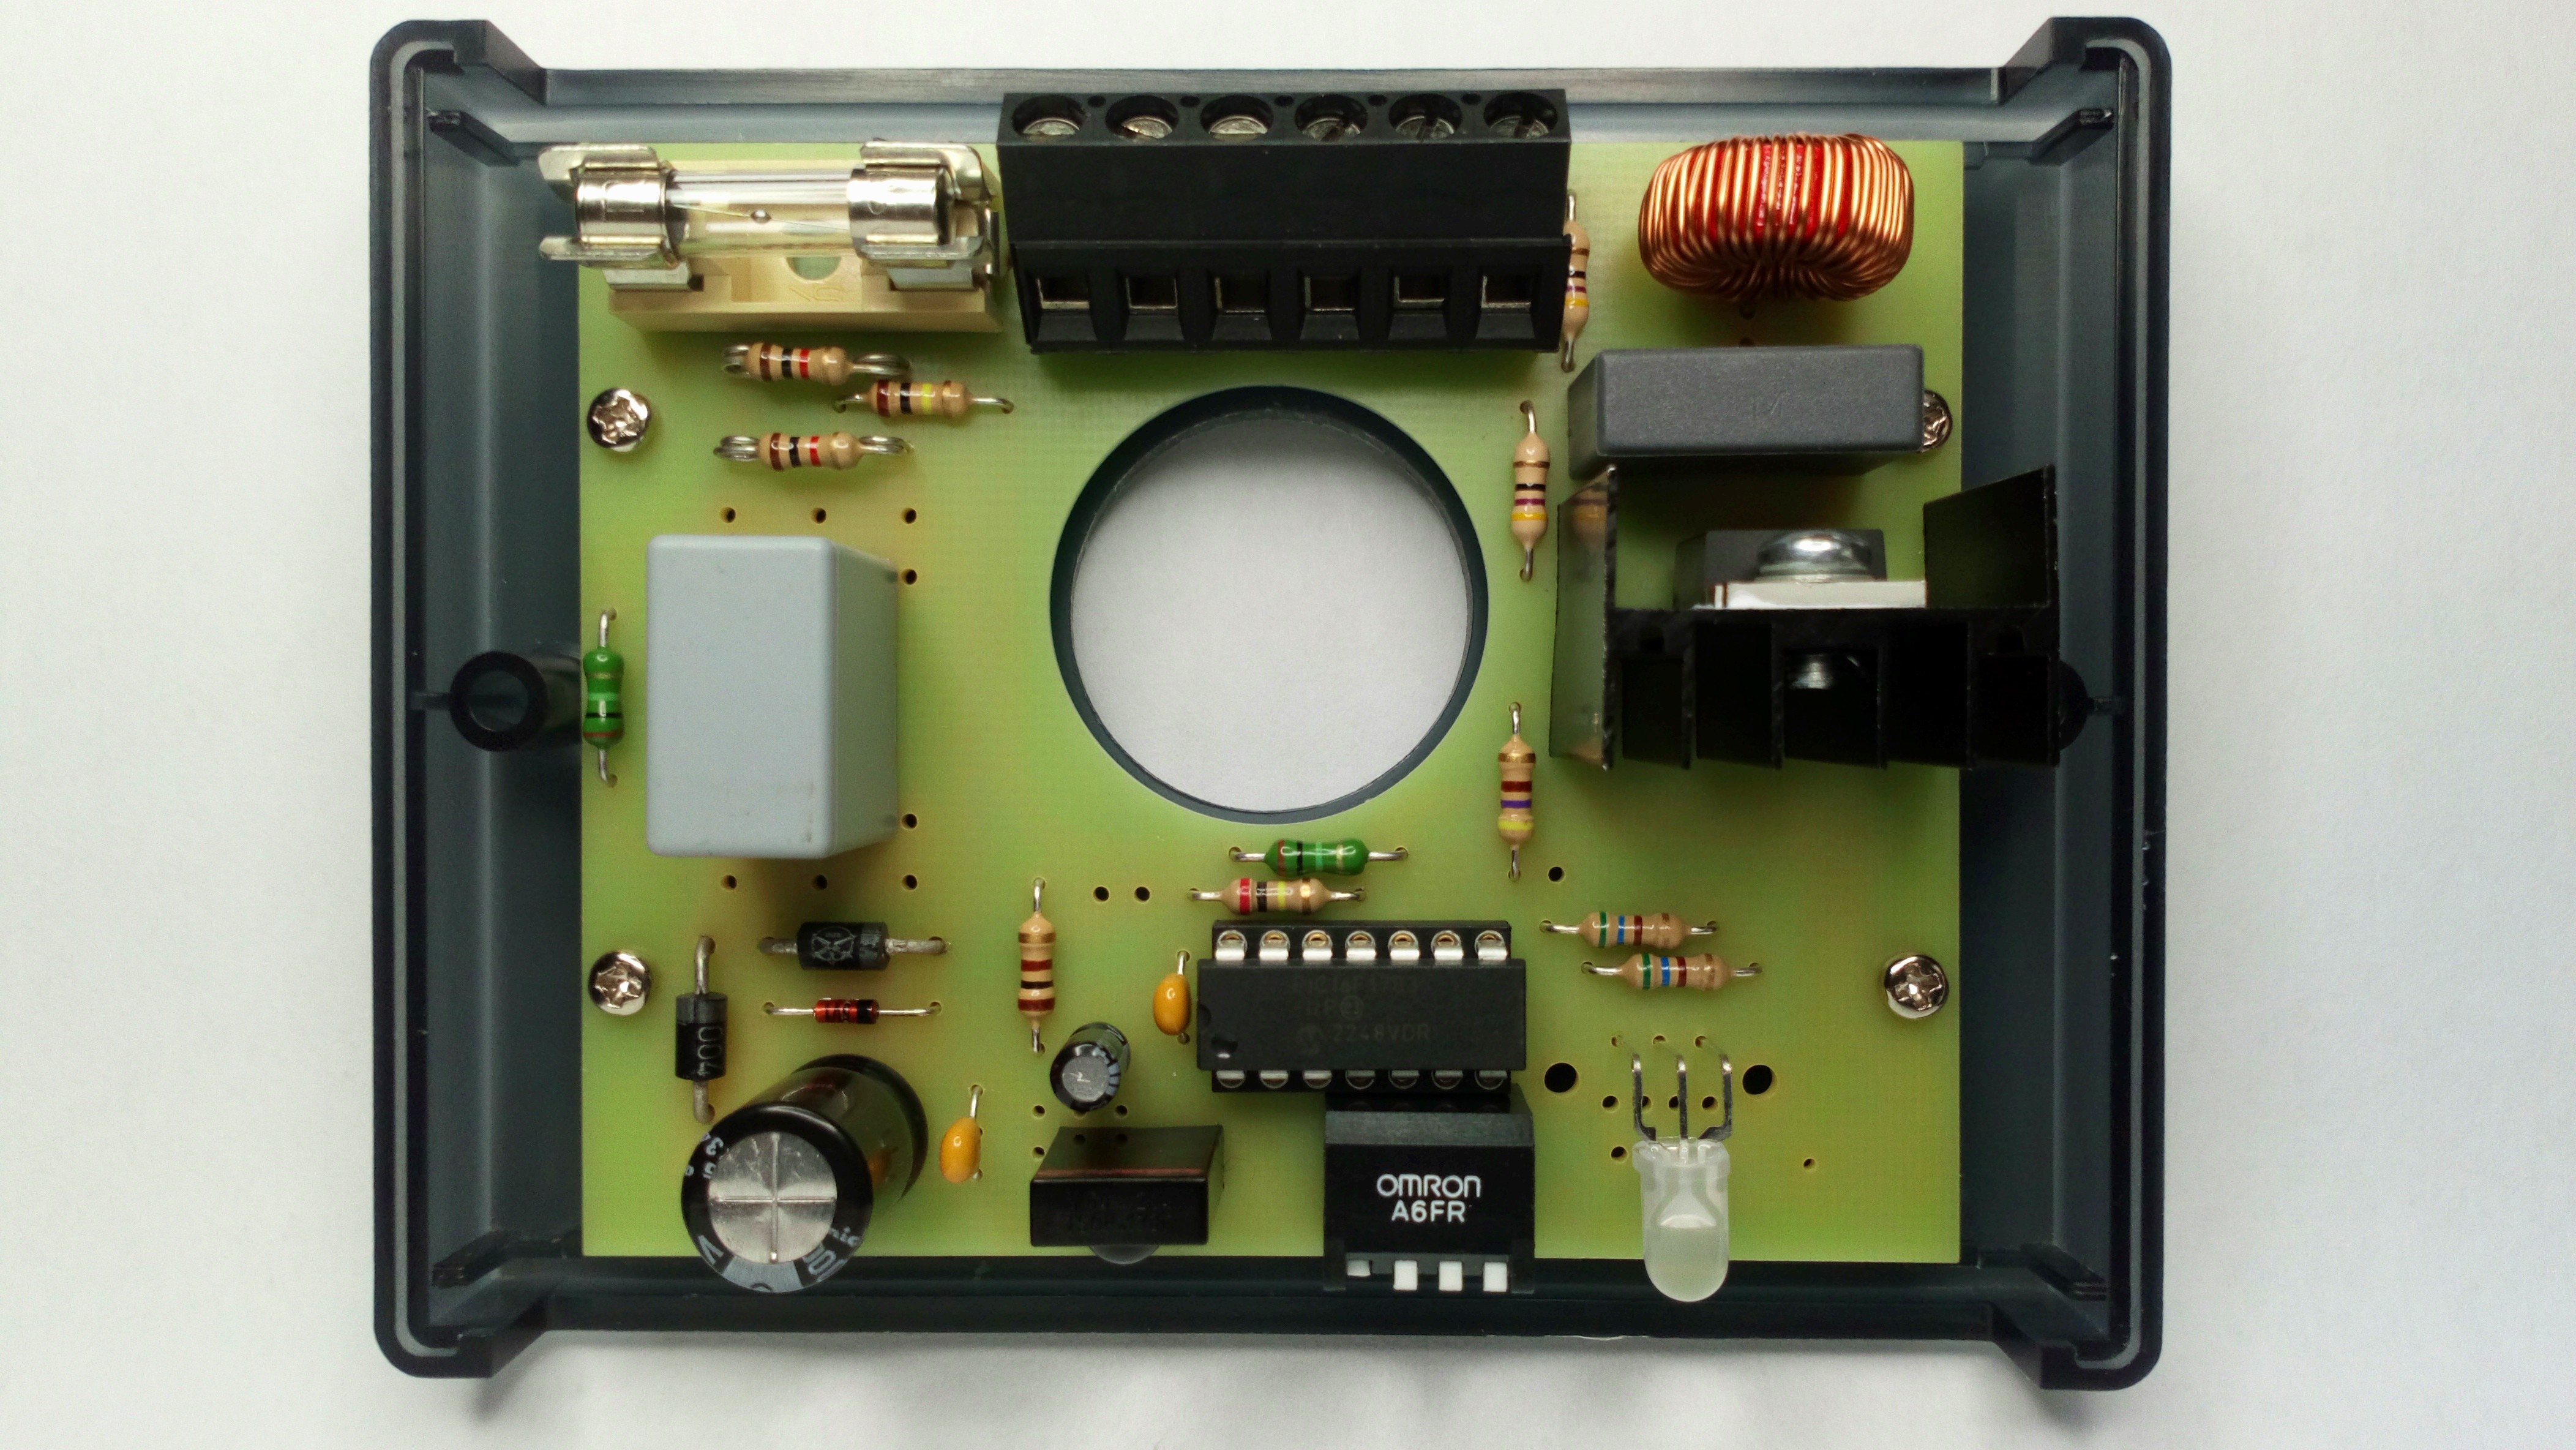
The dimmer uses a microchip PIC16F1703 microcontroller with a Zero Crossing Detector input ( ZCD), which simplifies the hardware, only two resistors are required!!. For PIC fans like me, I wrote the entire program in assembly (*.asm and *.s MPLAX V5.30 / MPLABX V6.00), the source and hexa files are available for download. I offer two versions of equipment: - Lite version with a push button placed under the box allowing you to turn the lamp off or on and configure the dimmer with the remote control. -A rotary encoder version which also allows you to adjust the lighting of the lamp and access to the mini and maxi setup. JUNE 2025 : The firmware is now sufficiently stable, I offer you a " Low Cost " version using a capacitive power supply, thus eliminating the transformer and opto-triac. In this version, the high voltage is present throughout the board: for your safety, I strongly advise you not to use it as a development board. The microcontroller will therefore need to be programmed separately.
Low cost LE version: Low cost Rotary Encoder version:
Please note : with the latest firmware versions ( V1.3, V1.4, V1.5 ), the C6 capacitor ( 10nF 0805 ) can be eliminated. The ZCD filtering is done by the software, thus eliminating a problem of disparity between different microcontrollers. Schematics are now availables !!!.
How to : Learning the remote control: 1-Press the push button until the LED is green ( Press the push button to exit ). 2-Press a button on your remote control until the LED is red. 3-Wait for the LED to turn green. If the LED remains red this means that the remote control protocol is not recognized and the dimmer has restarted. 4-Press the button on your remote control which will correspond to ON/OFF,the LED turns red. 5-Wait for the LED to turn green. 6-Press the button on your remote control which will correspond to Down,the LED turns red. 7-Wait for the LED to turn green. Repeat 6 and 7 for the Up,Favorite1,Favorite2,Delayed Shutdown keys. At the end the LED remains red and the dimmer restarts.
Favorite lighting setup: 1-Press the button on your remote control corresponding to favorite 1 until the LED is red. 2-Adjust the lighting using the Up/Down buttons on your remote control. 3-Press the button on your remote control corresponding to favorite 1 to save. Same thing for the favorite2.
Minimun/Maximun lighting setup ( Rotary encoder version only ): 1-Press the push button until the LED is red. 2-Adjust the minimum with the rotary encoder.
3-Press the push button to save. 4-Adjust the maximun with the rotary encoder (no flickering). 5-Press the push button to save and the dimmer restart.
What do you need ? - Sprint Layout 6 ( PCB and BOM ) - A PIC Programmer ( PICKIT3 or else )
Have fun with this project !!!
Want to build a project?
Bring your design to life with the Elektor PCB Service, powered by Eurocircuits. Upload the project files and order professionally manufactured PCBs or assembled boards through a proven European production platform.
Supporting KiCad, Eagle, Gerber, and ODB++ formats, the service is suitable for everything from prototypes and validation builds to series production and volume manufacturing.
Elektor Magazine has been one of the leading sources of information on electronics for engineers, designers, start-ups and companies for 65 years. Our magazine is powered by an active community of electronics engineers – from students to professionals – who are passionate about designing and sharing innovative ideas.
For them, we publish hundreds of items a year, in formats such as articles, videos, webinars, and other learning formats. Our mission is to share knowledge in every possible way and inspire readers with the latest developments within the electrical engineering sector.
Thank you for your vote!
Leave further comments in the fields below.
Thank you for your vote!
If you wish to leave a comment with your rating, please first use the login below. If not, just close this window.


Discussion (3 comments)