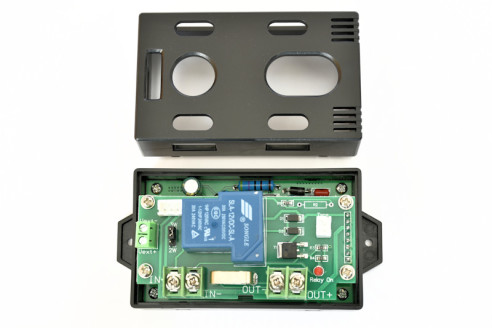
Review: JOY-iT VAX-1030 Wireless Multifunctional Measurement Module
Display

The display measures approximately 3 × 2.5 cm and is very bright, so it is easy to read even under high ambient light conditions. There are three touch-sensitive buttons next to the display. By default the display shows the measured voltage and current, along with the time at the start of the measurement cycle. A battery icon can be displayed on the left to indicate the remaining battery capacity after you enter the nominal battery capacity. The connection mode, relay state and measured temperature are shown at the top of the screen.
Even more information appears when you touch one of the buttons. Then the supplied or consumed power is shown beneath the voltage and current. In a smaller area below that you can see how many ampere-hours the power source or battery has supplied, the number of watt-hours and the elapsed usage time. On the right there is a list with a number of menu items that you can scroll through with the up and down keys. We have more to say about some of these later on.
Potential applications

with measurements made in both directions.
There are a number of menu settings that are especially interesting for use with rechargeable batteries. In particular, you can set upper and lower limits for switching off the relay. This can be used to avoid deep discharging the battery when it is powering the load, or overcharging when it is being charged. You can also set a maximum positive current (from the power source to the load) and a maximum negative current (from the charger to the battery) for switching the relay. With this combination, you can also easily keep track of how much power a connected circuit uses or how much energy was stored in a battery during charging, without having to use a calculator. The battery icon can also be hidden if you do not need it in a particular application.
Read full article
Hide full article


Discussion (0 comments)