
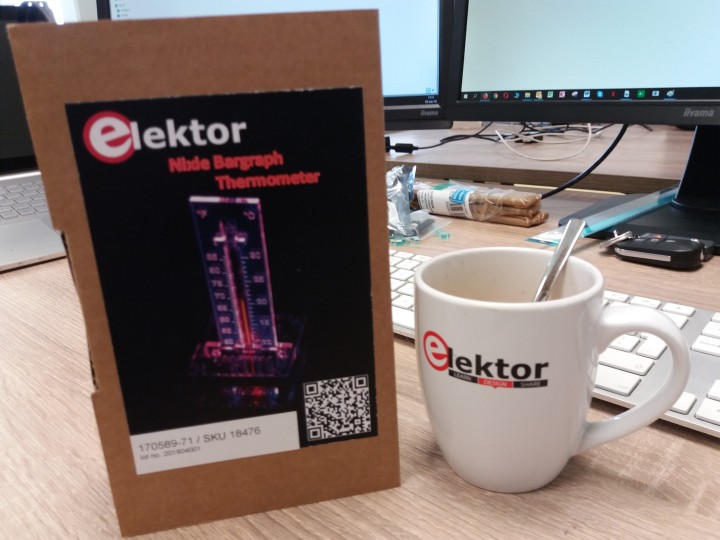
Review: Nixie Bargraph Thermometer DIY Kit
The build is guided by an Assembly Manual of which the url pops up on our smartphone or tablet if you scan the QR code on the cardboard box. Remarkably this method isn’t mentioned anywhere, nor the url printed in full. I found little to argue with the online-only manual except some minor typos and expressions indicating the kit makers are not native speakers of English, or at least that this extensive document did not pass the rigours of Elektor’s editorial department.
Fortunately the photos and other illustrations tell most of the story rather well and some extra-curricular advice on the components used is also present. Apparently this document is not intended as a substitute for the magazine article but rather a complementary piece concentrating on the assembly of the unit. Strangely though the Elektor Magazine article and the assembly guide do not cross-reference much as I believe they should. For example, the kit contains a generous seven acrylic “collars” to clamp the IN-9 tube in place near the top, at the end of the C/F scale. In good Russian tradition there’s wide tolerance on the IN-9 tube outside diameter and you should try which of the 7 collars fits best.
Full credits must go to (1) the makers of the acrylic-sheet pieces, which are laser-cut and finished to a high standard and (2) the kind soul(s) having personally tested the IN-9 tube in each kit.

The actual build is plain sailing as far as the board stuffing is concerned as it’s all through-hole parts and zero SMDs. The delicate but at the same time most rewarding part is the assembly of the “base” used to house the electronics and holding the thermometer (IN-9) column. The build time of about two hours indicated in the magazine article proved unrealistic to me — I work much slower than that, particularly on the mechanical and wiring but who cares.
The thermometer contains a complete Arduino Nano computerette to do all the temperature measuring from the sensor, and PWM-ing of the IN-9 control voltage to get the desired Nixie-ish, bargraph readout. Although I think it’s slightly overkill and expensive compared to a dedicated (AVR?) microcontroller doing its job I can imagine that the makers consider the Nano an easy way to develop the project and roll it out to a wide audience. Also, the thermometer software is wide open to everyone to experiment with as well as adapt and extend to create his/her favourite application.
Now you (too) can send commands to the thermometer. Quite a few are available, not all are overtly useful though and a few seem aimed at tweakers only. They are documented in the source file cmd_proc.ino which I am told will be a free download.
As a minimum I would like to have seen two small recessed buttons for a basic user control interface, and the default version of the firmware preloaded in the Nano so it works out of the box. On the other hand, programming an Arduino is today's equivalent of picking a BC547 from the component tray.
Returning to applications and to close off this review, here are a few:
All will require specific sensors and a matching indicator scale you have to cater for. But with the massive amount of Arduino software building blocks out there, today’s enormous range of sensors, and Google SketchUp, all you add is some creative thinking and an email to Elektor to say what you have achieved.
The official publication on the Nixie Bargraph Thermometer is published in Elektorlabs Magazine edition 4/2018 due out 15 June 2018. Article url (active by 15 June 2018): www.elektormagazine.com/16705
The Nixie Bargraph Thermometer kit can be ordered from the Elektor Store at: www.elektor.com/nixie-bargraph
The Nixie Bargraph Thermometer kit Assembly Manual may be found at: http://www.elektor.com/170589-nixie-bargraph-thermometer
The kit price is €69.95, Elektor Members pay €62.96.
Fortunately the photos and other illustrations tell most of the story rather well and some extra-curricular advice on the components used is also present. Apparently this document is not intended as a substitute for the magazine article but rather a complementary piece concentrating on the assembly of the unit. Strangely though the Elektor Magazine article and the assembly guide do not cross-reference much as I believe they should. For example, the kit contains a generous seven acrylic “collars” to clamp the IN-9 tube in place near the top, at the end of the C/F scale. In good Russian tradition there’s wide tolerance on the IN-9 tube outside diameter and you should try which of the 7 collars fits best.
Full credits must go to (1) the makers of the acrylic-sheet pieces, which are laser-cut and finished to a high standard and (2) the kind soul(s) having personally tested the IN-9 tube in each kit.
The actual build is plain sailing as far as the board stuffing is concerned as it’s all through-hole parts and zero SMDs. The delicate but at the same time most rewarding part is the assembly of the “base” used to house the electronics and holding the thermometer (IN-9) column. The build time of about two hours indicated in the magazine article proved unrealistic to me — I work much slower than that, particularly on the mechanical and wiring but who cares.
The thermometer contains a complete Arduino Nano computerette to do all the temperature measuring from the sensor, and PWM-ing of the IN-9 control voltage to get the desired Nixie-ish, bargraph readout. Although I think it’s slightly overkill and expensive compared to a dedicated (AVR?) microcontroller doing its job I can imagine that the makers consider the Nano an easy way to develop the project and roll it out to a wide audience. Also, the thermometer software is wide open to everyone to experiment with as well as adapt and extend to create his/her favourite application.
No buttons?
As a small criticism of the project, all of the thermometer’s configuration, operation, calibration and testing is farmed out to software. Also, the project does not work immediately; you have to upload the firmware first. A typical sequence would be:- connect the thermometer to your PC on which the Arduino IDE version 1.8.5 is installed;
- select the serial port that is assigned to the thermometer;
- select the Arduino Nano board type;
- Open the serial monitor in the Arduino IDE;
- Select 9600 bits/s and set EOL (end of line) to anything other than ‘no line ending’;
- Open the sketch and load the firmware. Output from the sketch will appear in the serial monitor.
Now you (too) can send commands to the thermometer. Quite a few are available, not all are overtly useful though and a few seem aimed at tweakers only. They are documented in the source file cmd_proc.ino which I am told will be a free download.
As a minimum I would like to have seen two small recessed buttons for a basic user control interface, and the default version of the firmware preloaded in the Nano so it works out of the box. On the other hand, programming an Arduino is today's equivalent of picking a BC547 from the component tray.
Returning to applications and to close off this review, here are a few:
- relative humidity meter
- barometer
- AEX index readout
- Zen mood readout
- Bitcoin exchange rate readout
- Trump tweet counter and red/green alert
All will require specific sensors and a matching indicator scale you have to cater for. But with the massive amount of Arduino software building blocks out there, today’s enormous range of sensors, and Google SketchUp, all you add is some creative thinking and an email to Elektor to say what you have achieved.
The official publication on the Nixie Bargraph Thermometer is published in Elektorlabs Magazine edition 4/2018 due out 15 June 2018. Article url (active by 15 June 2018): www.elektormagazine.com/16705
The Nixie Bargraph Thermometer kit can be ordered from the Elektor Store at: www.elektor.com/nixie-bargraph
The Nixie Bargraph Thermometer kit Assembly Manual may be found at: http://www.elektor.com/170589-nixie-bargraph-thermometer
The kit price is €69.95, Elektor Members pay €62.96.
Read full article
Hide full article

About Jan Buiting
Jan Buiting (1958) has been active in electronics and ways of expressing it since the age of 15. Attempts at educating Jan formally have so far yielded an F-class radio amateur license, an MA degree in English, a Tek Guru award, and various certificates in ele... >>
Discussion (6 comments)