Review – Arduino Primo & Primo Core
NFC & BLE: tap to connect
The reason for combining BLE and NFC into one chip, or on one board, is to simplify device pairing. With normal BT pairing it is necessary to first scan for a while to find all the devices that are available for pairing before the device of interest can be selected from a list of cryptic device names. NFC makes the pairing process much easier and faster by removing the scan part. Instead, pairing is done with the BT device within NFC range (“tap to connect”). Now it becomes clear why the Primo Core has a removable NFC antenna: on most cases it is only needed for pairing (to the big Primo for instance).
Is the Primo mbed or Arduino?
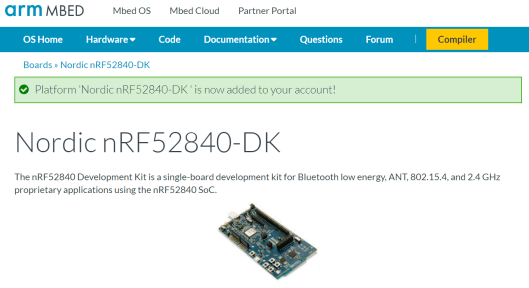
Connecting the Primo to a computer is interesting as it is detected as both a serial port and an external disk on which you will find the file ‘mbed.htm’. Double-click it and be taken to the ARM mbed website where it is picked up (after logging on, of course) as a Nordic nRF52840-DK. Not quite the same thing, but similar. A closer match would be the nRF52 DK which at least has the same MCU as the Primo.Installing the Primo in Arduino
The Arduino IDE does not know the Primo by default, it must be installed first. To do so select the ‘Arduino nRF52 Boards by Arduino’ in the ‘Boards Manager’ and click the ‘Install’ button. After selecting the board and its serial port, it is time to test the installation by running an LED blinky program. I always use the ‘BlinkWithoutDelay’ example. In most cases this works without modifications, but not for the Primo as it has its user LED on pin 9 instead of on pin 13. Using the constant ‘LED_BUILTIN’ will fix this too.Once installed you can use the BLE, NFC, CIR (infrared) and other Arduino libraries to build your application quickly.
Arduino Create Online IDE
The online Arduino Create IDE knows the Primo and the blink example works without modifications.Read full article
Hide full article


Discussion (0 comments)