
Post project 23: Bury the Hatchet, Unbury the Axe
December 27, 2013
on
on
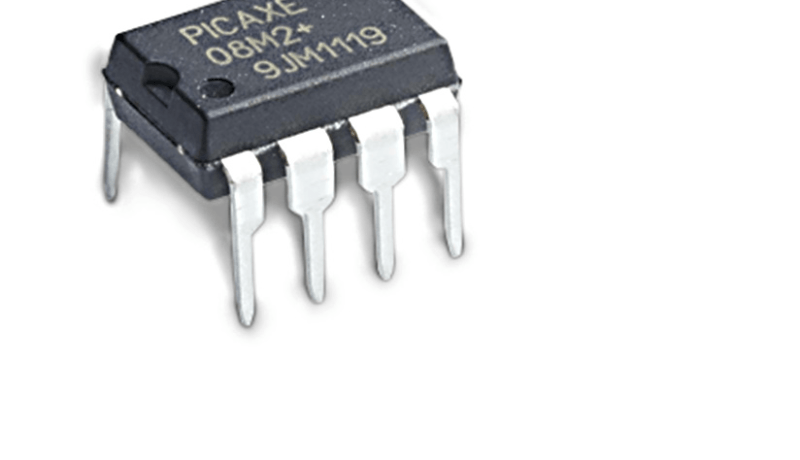
The previous articles in this series [1] brought to you by Elektor.POST
showed how to program a PICAXE chip and how to build interfacing circuits
to provide both digital and analog inputs and outputs to a PICAXE project.
Now we can also allow the PICAXE to switch and control various
other electronic circuits, and we know how to select
adequate electronic components for our own circuit
designs. Additionally, in Part 3 we explored various
uses for pulsewidth modulation (PWM), including
servo control and sound (by the way, did you recognize
the tune?). This article concludes the series,
and as promised we will be adding an OLED display
and a PS/2 keyboard to a PICAXE. Finally, we will
connect the PICAXE to a PC via a serial connection.
Don't miss any project, take out a free membership to Elektor.POST now!
Don't miss any project, take out a free membership to Elektor.POST now!
Read full article
Hide full article
Discussion (0 comments)