


Unboxing and Assembling the Raspberry Pi AI Kit: Step-by-Step Guide!
June 19, 2024
on
on
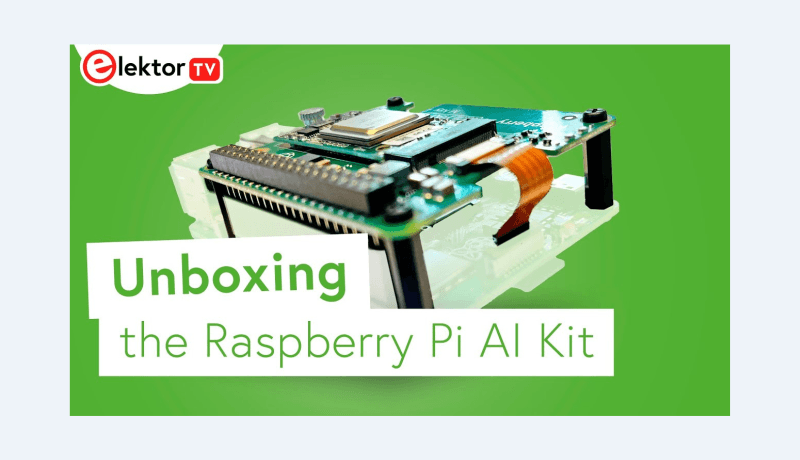
Are you curious about the new Raspberry Pi AI Kit that we featured recently? In the video below, you can now watch a comprehensive guide on unboxing and assembling this new device. The step-by-step video will walk through the entire process, ensuring even beginners can get their AI projects up and running smoothly.
There you have it! With the assembly complete, you are ready to explore the endless possibilities of the Raspberry Pi AI Kit. Whether you're looking to dive into machine learning, robotics, or any other AI-driven projects, this kit provides a robust foundation. Watch the video below and check out the kit in the Elektor Store. What will you build with it? If you already have a great idea for an exciting AI project, please let us know in the comments below.
What's Inside the Kit?
The video begins with the unboxing of the AI Kit. It includes most importantly the M.2 HAT+ as well as the Hailo 8L module already connected, as well as all the needed hardware (screws, spacers, etc.). Additionally, the kit features a 16-mm high, 40-pin male to female header, which extends the GPIO pins of the Raspberry Pi and enables fitting the HAT on a Raspberry Pi 5 with the Raspberry Pi Active Cooler in place. Subscribe
Tag alert: Subscribe to the tag Embedded & AI and you will receive an e-mail as soon as a new item about it is published on our website! Step-by-Step Assembly Guide
The video then guides you through the assembly process, which is very easy. First, attach the plastic standoffs on the bottom side of the HAT using the provided nylon screws. Next, place the stacking header over the pins of the GPIO header of the Raspberry Pi. This acts as an extender to allow proper connection to the HAT. Then, carefully align the HAT over the Raspberry Pi while inserting the pins of the 40-pin connector. Finally, secure the assembly using the remaining screws, ensuring everything remains firmly in place. We recommend that you take care not to overtighten the plastic screws.There you have it! With the assembly complete, you are ready to explore the endless possibilities of the Raspberry Pi AI Kit. Whether you're looking to dive into machine learning, robotics, or any other AI-driven projects, this kit provides a robust foundation. Watch the video below and check out the kit in the Elektor Store. What will you build with it? If you already have a great idea for an exciting AI project, please let us know in the comments below.
Explore More Rasberry Pi!
Want to learn more about Raspberry Pi, AI, or electronics in general? Check out all the educational videos and tap into the knowledge of experts on our Elektor YouTube channel and our Elektor Industry YouTube channel. Subscribe to Elektor's newsletter to receive a regular flow of expert tech knowledge and interesting perspectives.Read full article
Hide full article

Discussion (0 comments)