
Homebrew PC for the Electronics Lab
on
Old PCs consigned for use in an electronics lab have some advantages: Firstly it is not such a loss if you mistreat them and they fail. They will not be the most recent model so often they provide connectors for some of the older, redundant interfaces that may be used by some old projects. The disadvantages of an old PC however are manifold.
First, we need to accept lower reliability; even though PCs occasionally last ten years, it's reasonable to assume that their typical useful lifespan is around three years. It’s not just that something can break or wear out but old PCs often run an old unsupported OS, which poses a security risk. Okay, hand on heart: Do you have a PC somewhere running Windows XP? Newer operating systems often cannot be installed on old machines because of lack of space, no compatible drivers or the result would be an achingly slow PC which brings me to the third drawback: poor performance.
To get round this why not build your own PC? For relatively little money, you can quickly put together something that fits the bill exactly.
The PC components
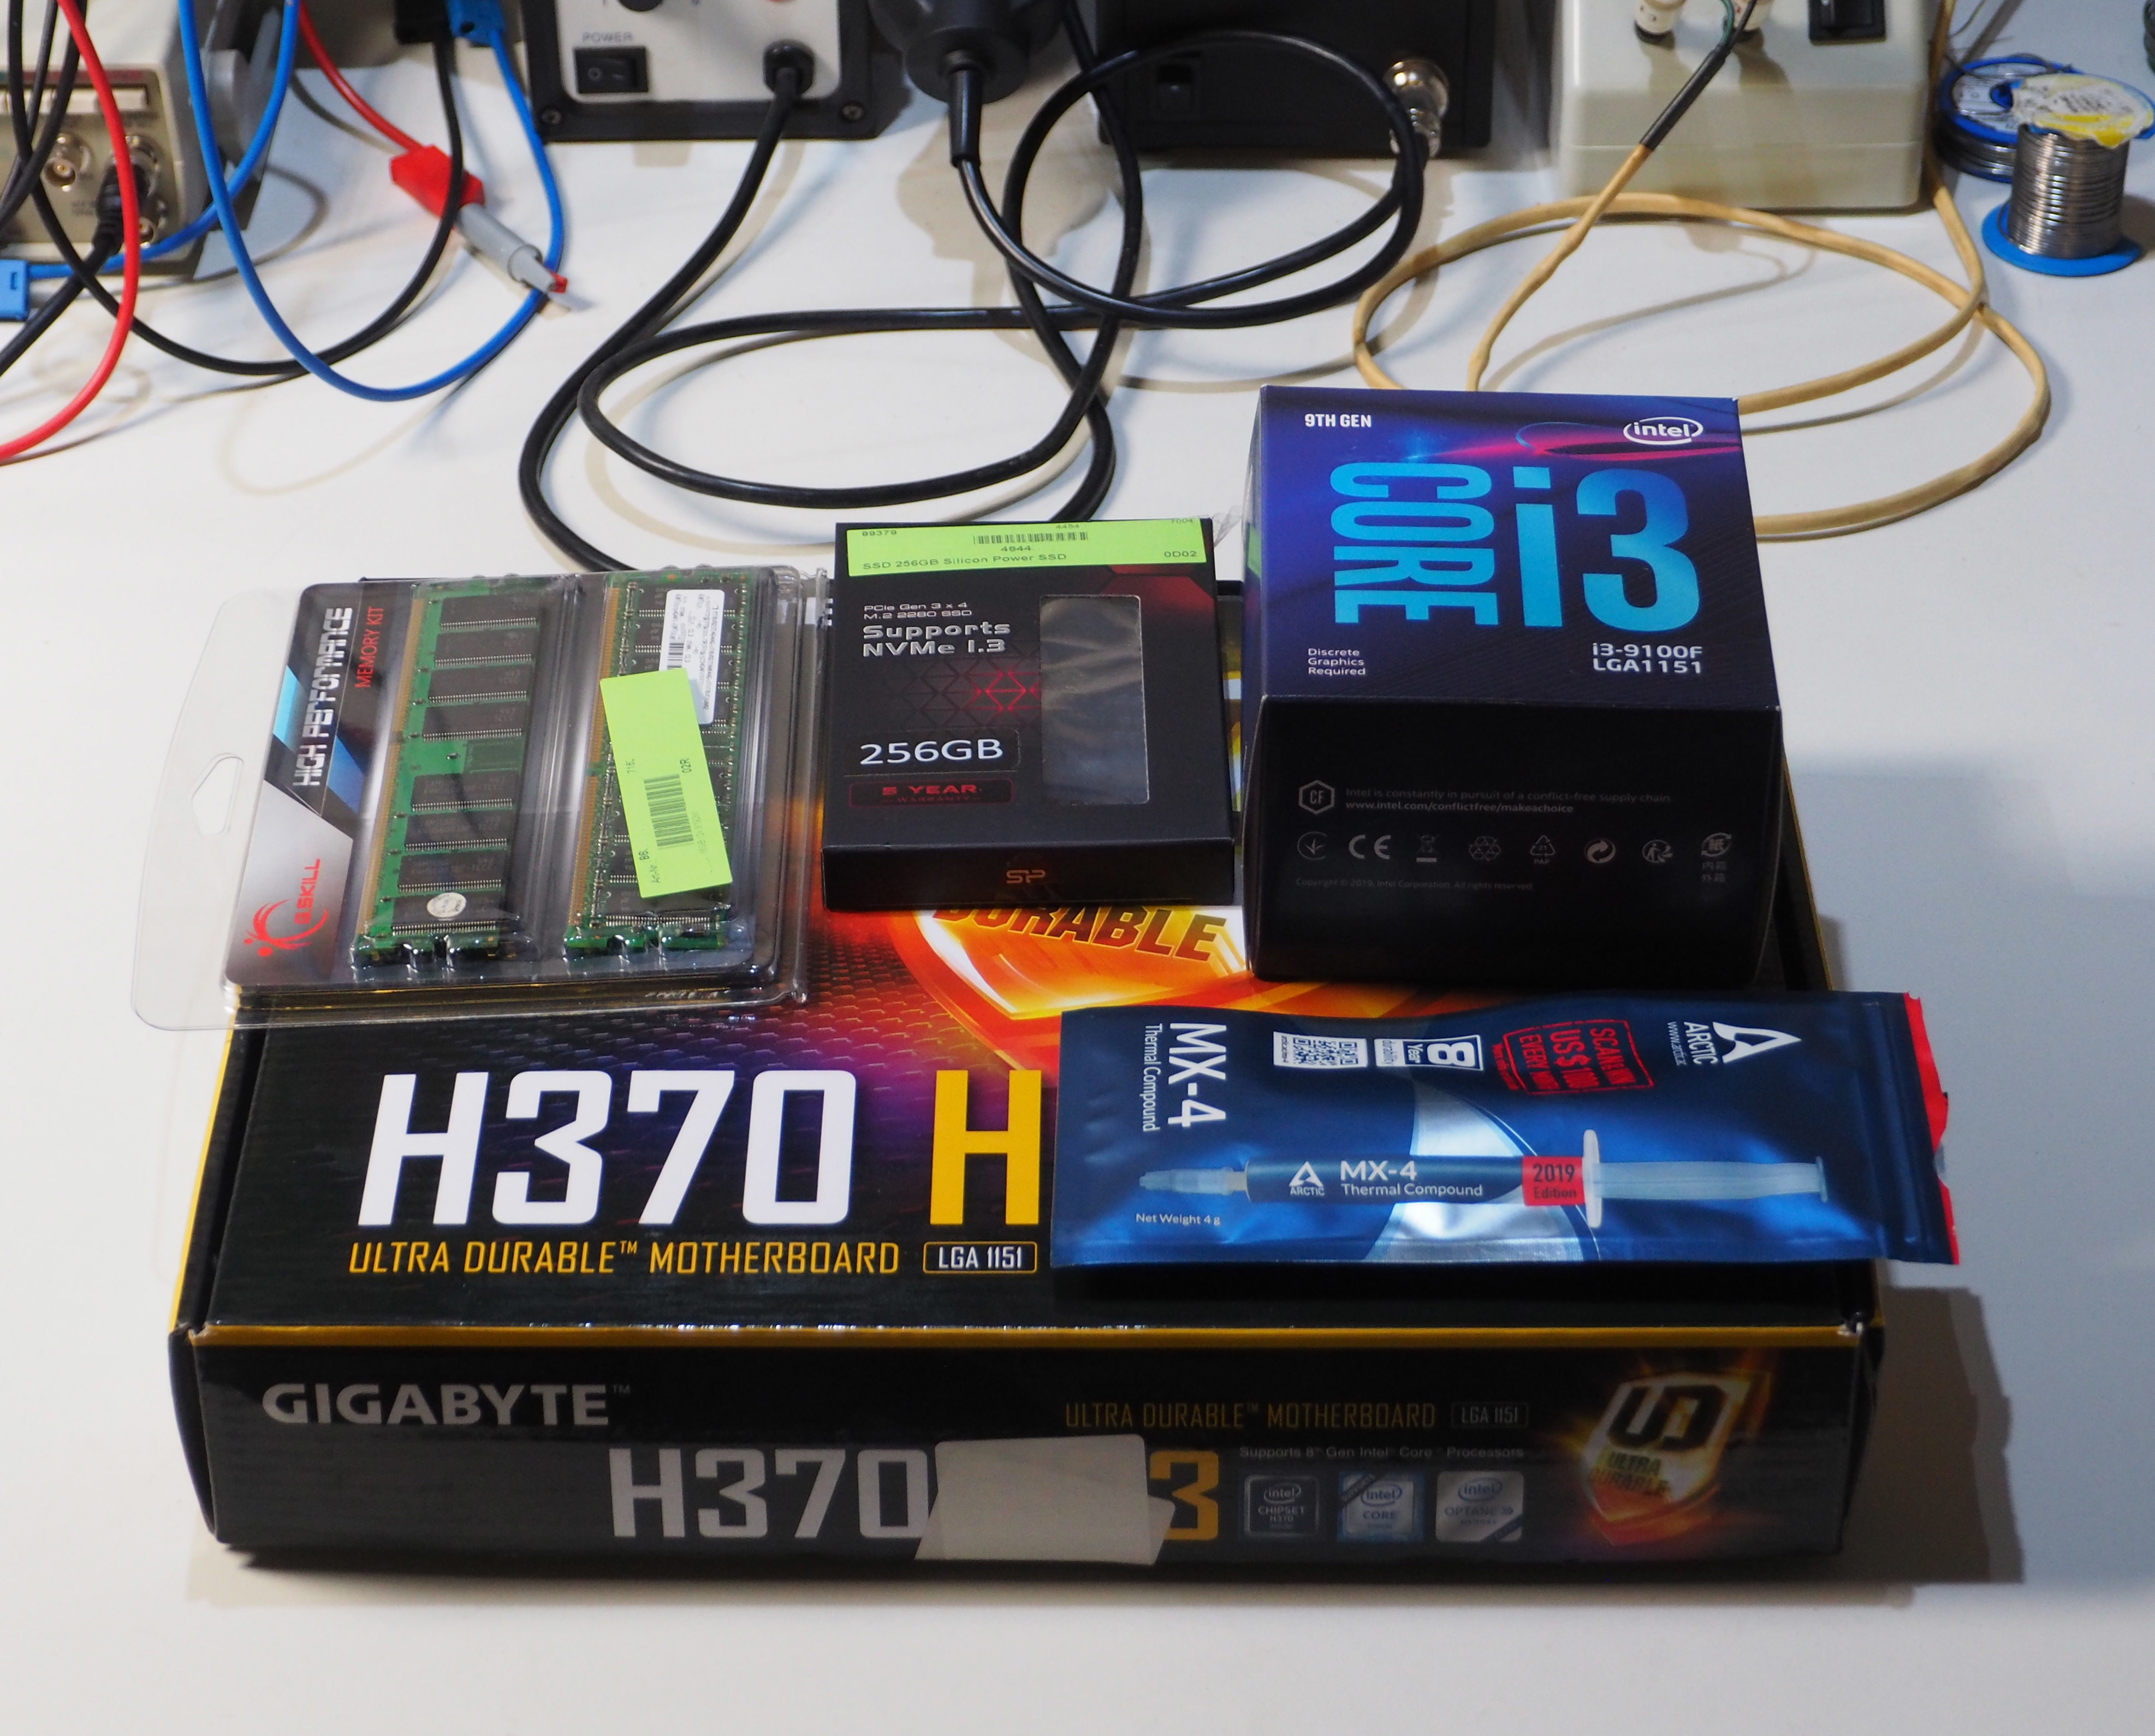
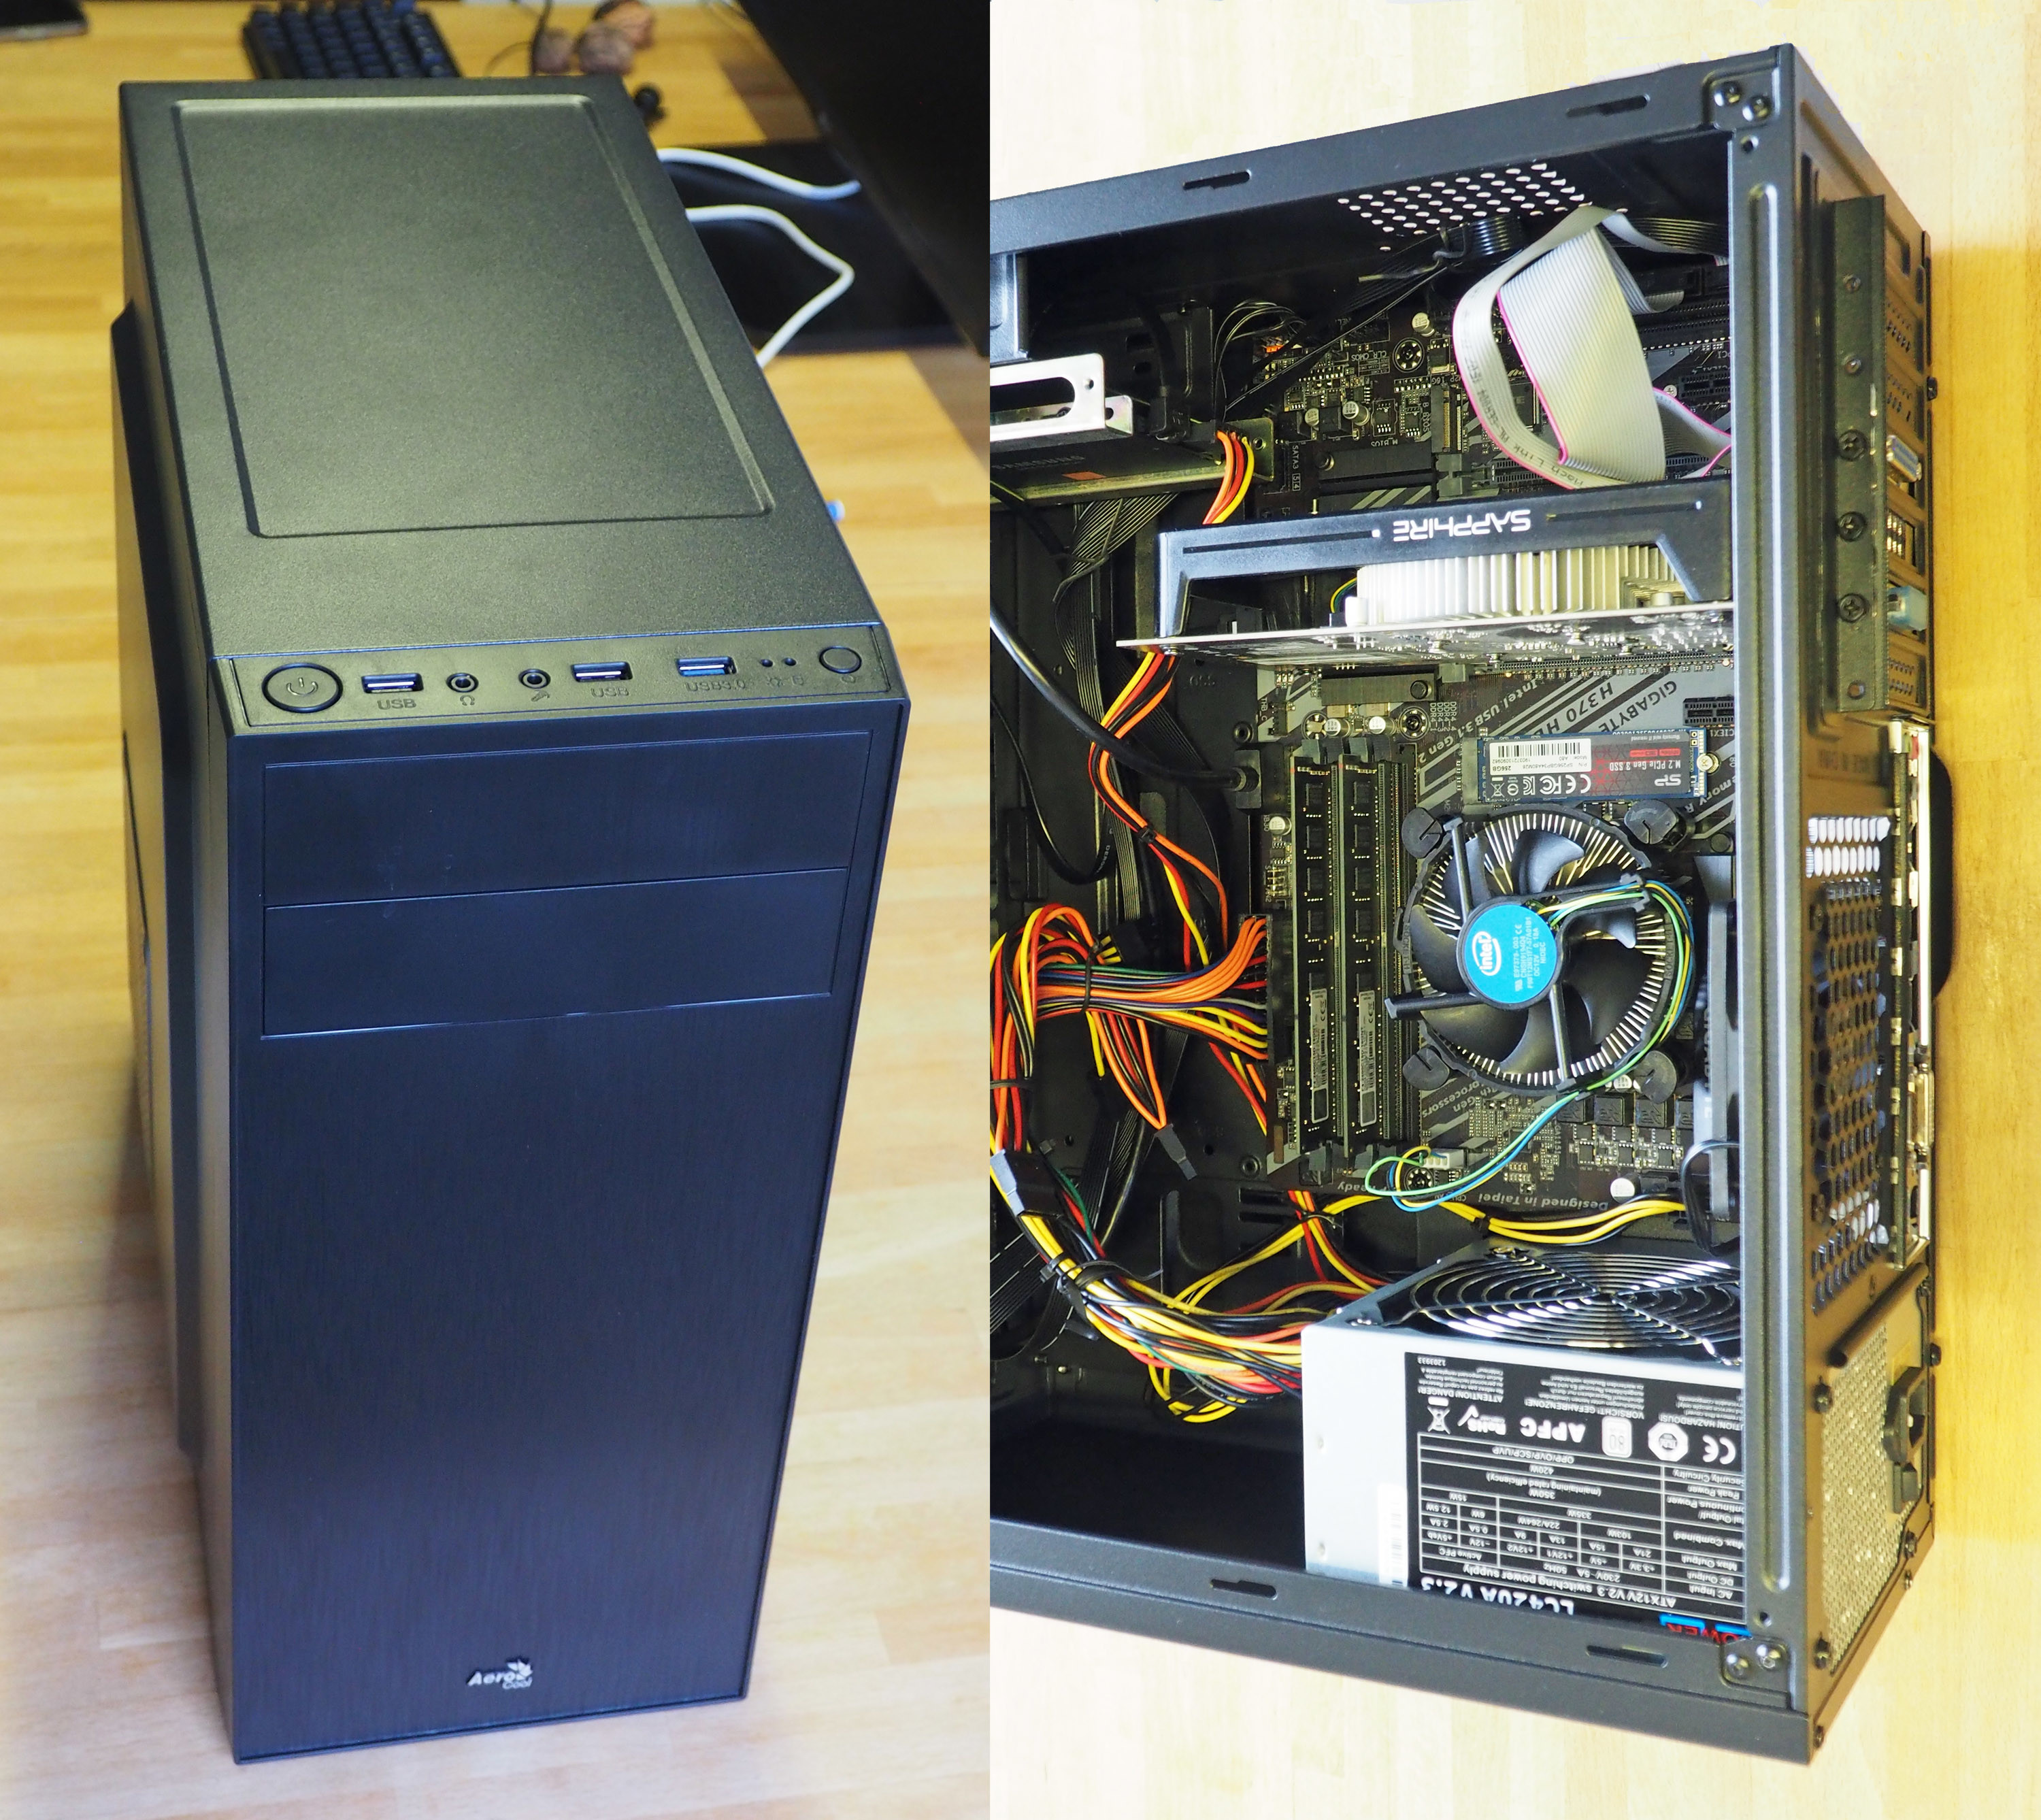
For an electronics engineer, building a PC yourself should be a breeze. Anyone who knows that red ≠ blue and plus ≠ minus and what static electricity can do to modern electronics hardly needs to be instructed how to plug the various components together (Figure 1). I managed to build a lab PC in one evening; if I can do it, anyone can…
What you will need:
• Motherboard
• CPU
• CPU cooler
• RAM modules
• SSD (electromechanical hard drives are out)
• Power supply
• Case
Small parts such as slot plates with serial and parallel interface connectors are also an option if you think they will be useful, these are often not included with boards. If you have specific graphic-intensive requirements (3D renderings, etc.), you can choose a powerful dedicated graphics card instead of using the graphics processor integrated into many CPUs.
Of course, you could fire up a search engine and look for an off-the-shelf PC that does everything you need. It is however a good exercise to consider the properties of all the necessary components in advance to see how you can build something that you can really use.
Motherboard
The basic choice we need to make here is between Intel or AMD. AMD's new processors currently deliver a little more ‘bang for the buck’ which has encouraged Intel to price their products more competitively. If you intend to only run Windows 10, then an AMD processor is a good choice. I install Windows 10 on several volumes and also use Linux and macOS so I need to go for Intel.
If you need space for plug-in cards, the next decision for the board format is in favour of standard ATX. Alternatively, you can also choose µATX but standard ATX also provides (probably for not much longer) a PCI slot, useful if you want to use an older board with a PCI connector. Otherwise you will be limited to more modern PCIe cards.
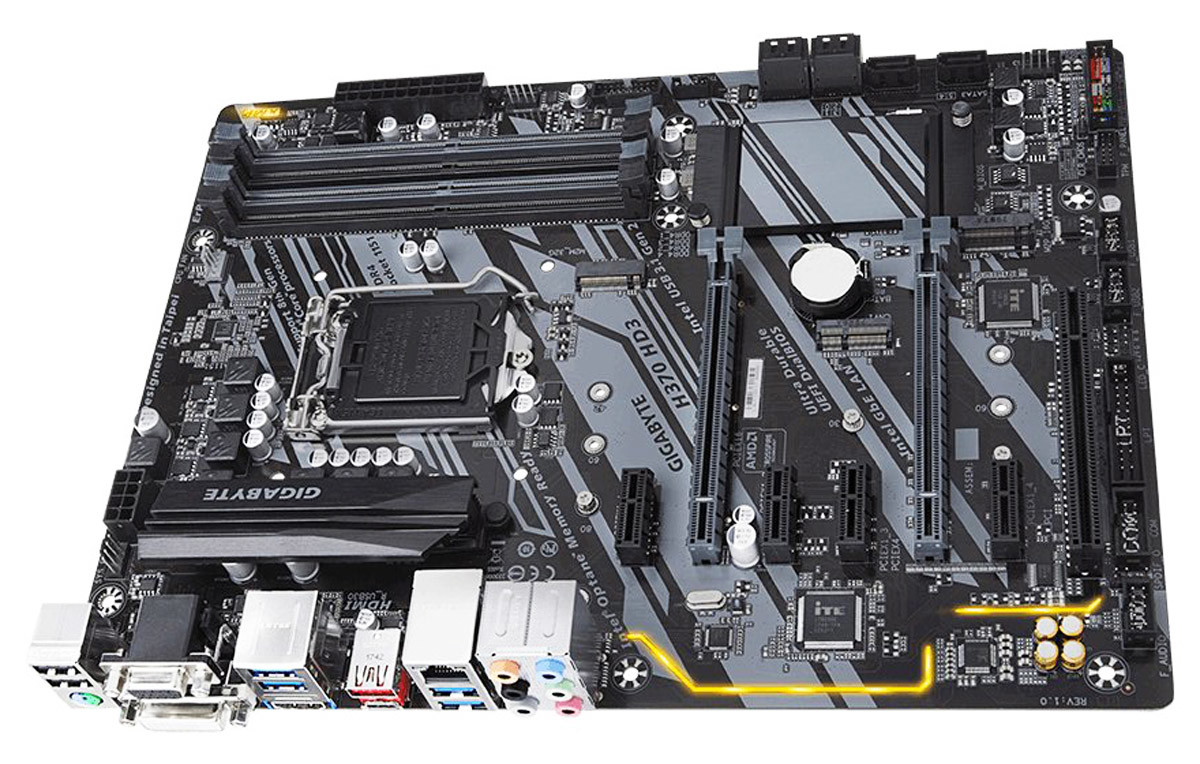
If you plan to use an Intel CPU, you can choose from boards with a number of variants of the X3XX chipsets. Here you should not be tempted to penny pinch; avoid the H310, B360 and B365 chipsets. These variants, which are intended for simple office PCs, have a reduced number of usable PCIe lanes, which slows down the system throughput, especially when using M2 NVME SSDs and graphics cards. It doesn't need to be an expensive Z390 board either. The H370 or Z370 variants will be good enough. The ‘Z’ indicates a free CPU clock but I’m not interested in overclocking the lab PC so I will go with the less expensive H370. My choice fell on the Gigabyte H370 HD3 (Figure 2). It has the PCI slot mentioned and is available for around €100.
The CPU
After selecting either Intel or AMD, the next thing to consider is processing power, which these days is largely governed by the number of CPU cores. Although Intel offers modern ‘Celeron’ or ‘Pentium’ processors for just under €50 these are feeble dual-core CPUs which may be sufficient for less demanding applications but won’t cut the mustard for what we have in mind here. You don’t need to stump up much more money to get a powerful, fast quad-core version of the processor for around 100 Euros.
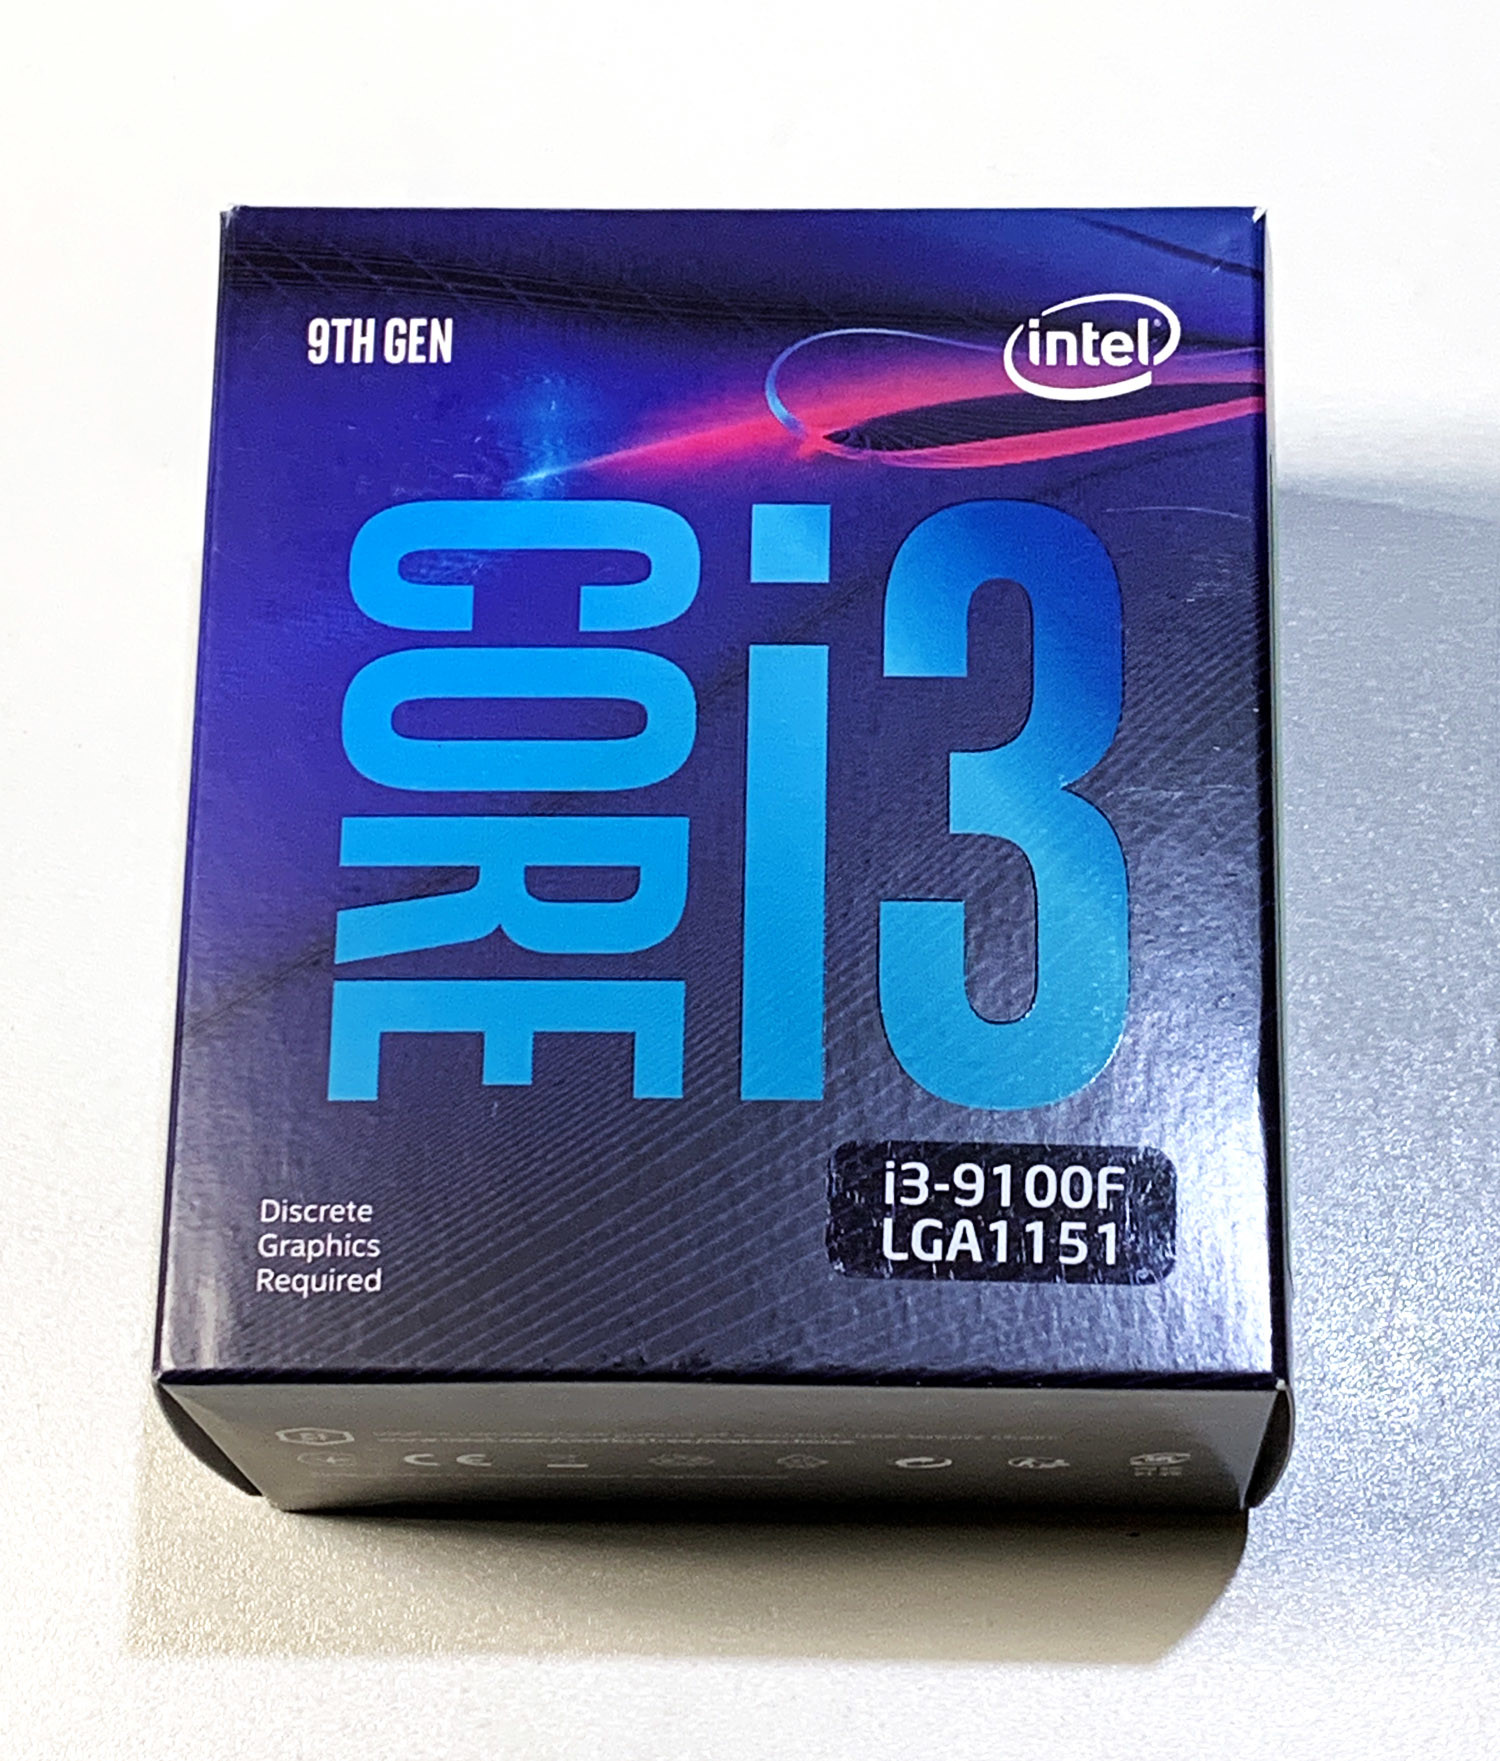
For AMD devices we would be looking at the Ryzen 3 or 5 processors — older, slower or even completely different CPUs that don’t use the AM4 socket should be avoided. For Intel a good processor to consider is the i3-9100. The F version is a bit cheaper because it has the integrated video controller disabled. After a recent upgrade to my main PC I have a fairly modern AMD graphics spare so it makes sense to choose a ‘boxed’ i3-9100F for around €80 (Figure 3). This has four cores clocked at 3.6 GHz (Turbo = 4.2 GHz). Five years ago you would have shelled out over €400 for this CPU. Processors can also be purchased as OEM/Tray processors; these are bought in bulk by a manufacture (in trays) and will not be supplied in the usual retail packaging when resold individually as a Tray CPU. They are not significantly cheaper so I opted to buy one in its original box.
At the time of going to print, there may already be successors. In this case, I would prefer the i3-10100. For those requiring processors with more cores, CPUs of the i5, i7 and i9 type are popular choices.
CPU cooler
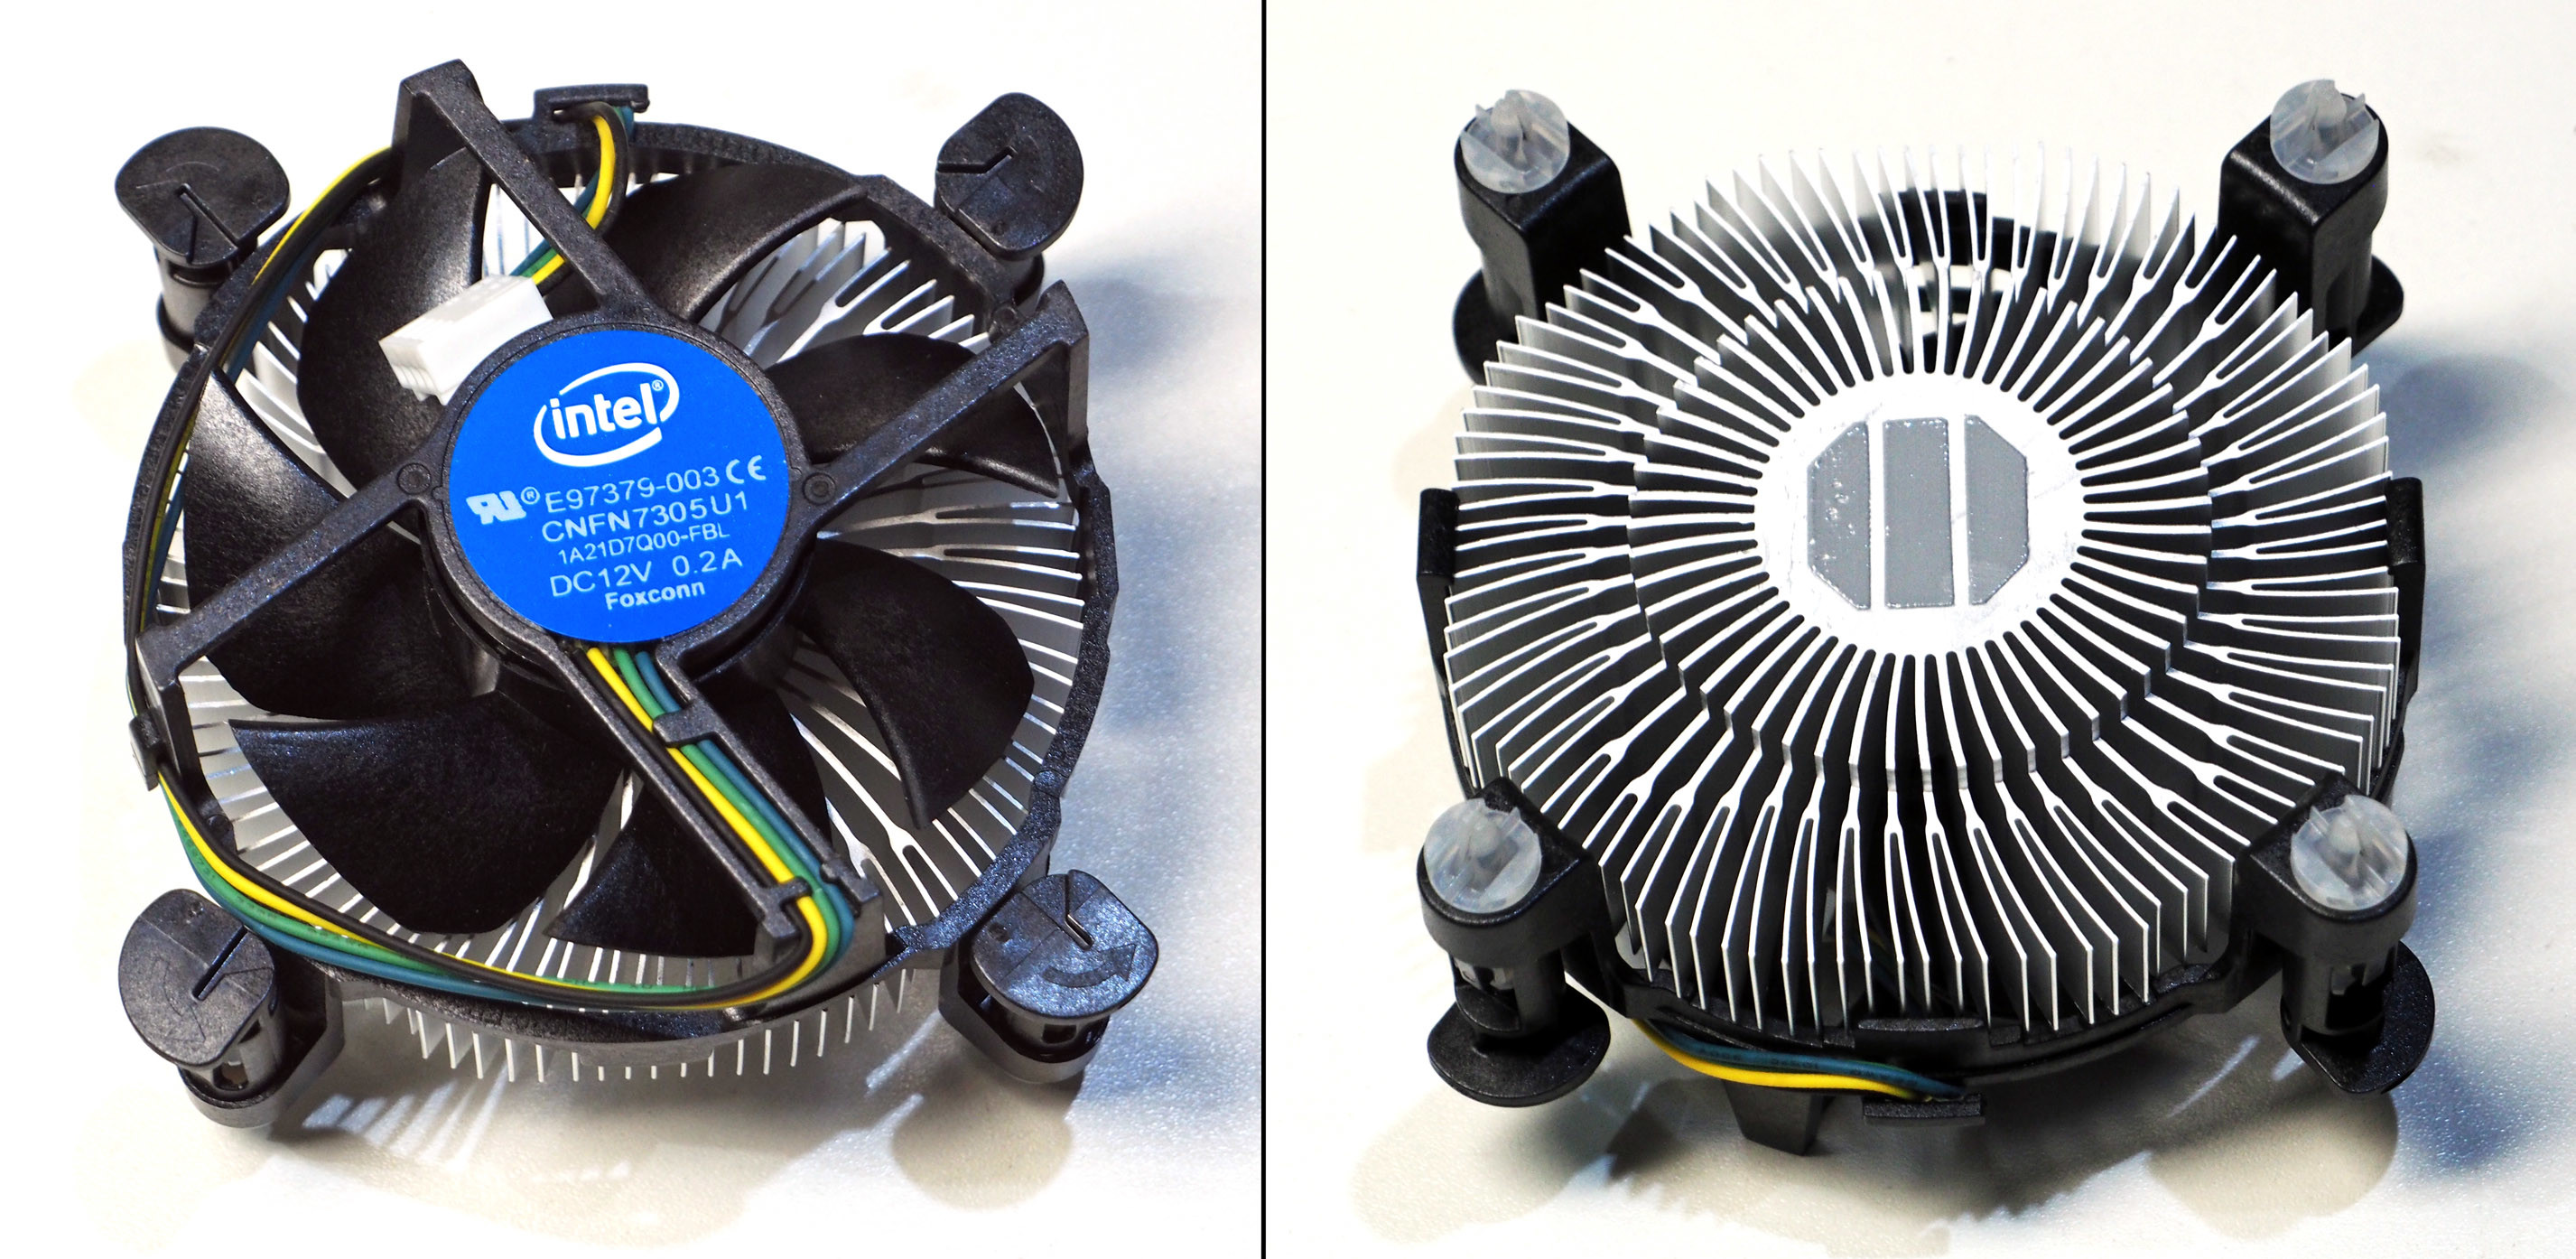
The ‘boxed’ i3 CPU also comes with a heat sink and fan (Figure 4) which runs not particularly quietly but in a lab environment that’s acceptable.
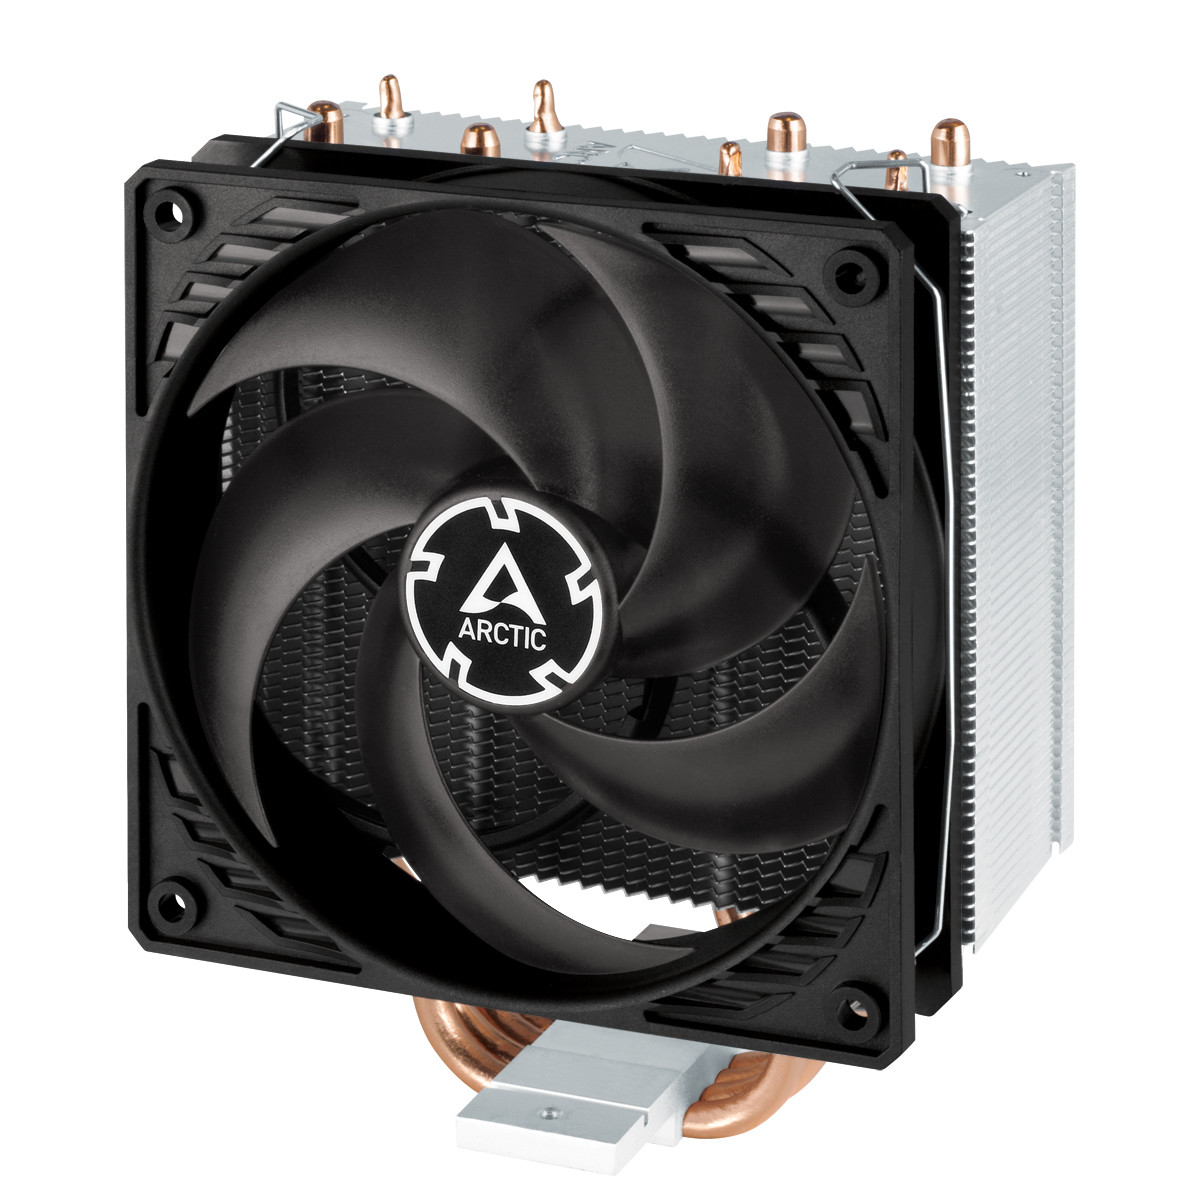
If you opt for a more powerful processor you need to pay more attention to drawing off the extra heat it generates. A wide choice of cooling arrangements is available, some fans can be quite noisy but for our application this is not such a serious drawback. You can expect to pay at least €20 for a cooler with heat pipes and a 120-mm fan (Figure 5). The selection is huge but a water cooled system would be overkill, after all nobody in the lab would ever use the machine for gaming… would they?
RAM
When it comes to RAM, the first question is: how much? 16 GB seems to be the standard these days and is almost always sufficient for the majority of applications. You can order this as a kit consisting of two 8 GB cards so they can be accessed faster i.e. ‘interleaved’. A 32 GB, made up of 2x16 uses less energy than the same capacity made from 4x8.
CPUs have long used DDR4 memory; these 260-pin modules are required for Ryzen CPUs with a maximum clock of 2,933 MHz. For the Coffee Lake processors from Intel (iX-8XXX and iX-9XXX), 2400 MHz is sufficient. More is always possible and can be activated via BIOS (XMP = eXtreme Memory Profile). XMP is an Intel technology that allows you to use higher than standard memory speeds by choosing a different profile for the RAM during BIOS boot.
In addition to the clock speed, the access latency is also relevant for RAM modules, which is specified as ‘CLXX-XX-XX-XX’ in the description. Less is more. I decided to go down the conservative route and opted for a 2x8-GB kit rated at 1.2 V from the G.Skill ‘Value’ range with the description CL15-15-15-35. This set me back around €55.
SSD
The two obvious criteria here are: capacity and speed. Everyone has an idea how much memory they want and a bank statement that tells them how much they really can get away with. Personally, using a Windows 10 machine running various development environments with CAD software installed plus an office package on top of that I think 250 GB is more than ample for my needs.
The crucial question is the interface; although my board has six SATA-3 interfaces the data throughput is ‘only’ a maximum of 600 MB/s. SSDs with an M2 NVME interface are better and not much more expensive, the board we are using here offers two slots for this. Thanks to four 3 lane PCIe slots, gross data throughput of up to 4 GB/s is possible. Standard SSDs easily offer 3 GB/s.
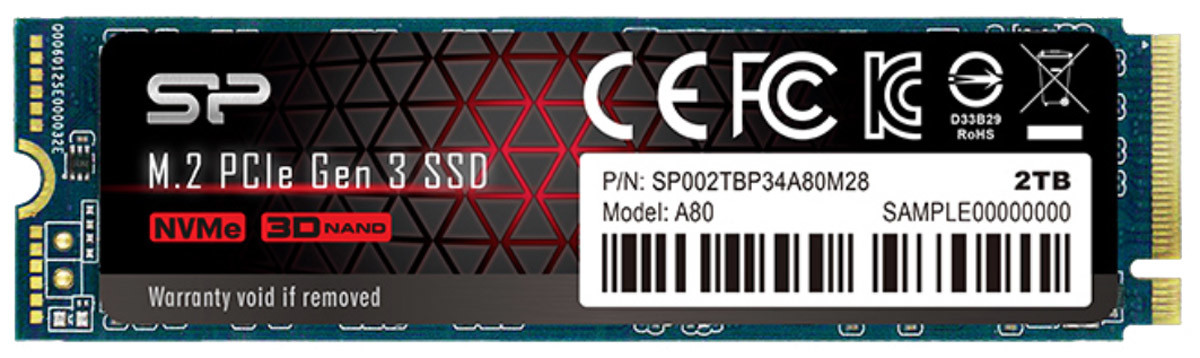
A not so obvious criterion is the possible I/O operations per second; this determines the responsiveness when running modern operating systems which make many accesses to the mass storage unit. The ACE-A80 I chose from Silicon Power (Figure 6) offers 500/600 k/s (read / write), which is five times the standard SATA-3 device. At 3400/3000 MB/s (read / write), the data throughput is very respectable, and not far short of the theoretical limit. This SSD costs just €45, it really is not worth considering any conventional, electromechanical hard drive.
Note: avoid QLC SSDs! These ‘Quad Level Cells’ actually work with 16 voltage levels per cell and can thereby store 4 bits per cell. That makes them cheaper to produce for a given capacity, but makes the read/write cycles relatively slow and also impacts on cell longevity. Without some nifty tricks by the memory controller (‘wear leveling’ and ‘reserve blocks’) a memory sector would become unstable after only about 200 write operations (compared to 2000 for more standard Triple-Layer cell (TLC) SSDs). The cost savings are really not worth it!
The power supply
An increasingly more important criterion to consider here is the efficiency of the power supply. More energy wasted equates to a larger carbon footprint. Power supplies using the ‘80PLUS’ rating system are divided into categories of bronze, silver and gold. You shouldn't buy anything with an efficiency rating less than bronze.
The power rating is also relevant. If you have a CPU consuming 65 W with an integrated CPU graphics, it will be difficult to exceed 100 W for the entire system even under full load. Graphics cards are notoriously power hungry. Top of the range cards used by serious gamers consume several hundred watts. A fairly average graphics card in the lower-mid range class will take 200 W. As a rule, the graphics card in an average lab PC will be jogging along at 20 to 40 W if it has nothing special to do.
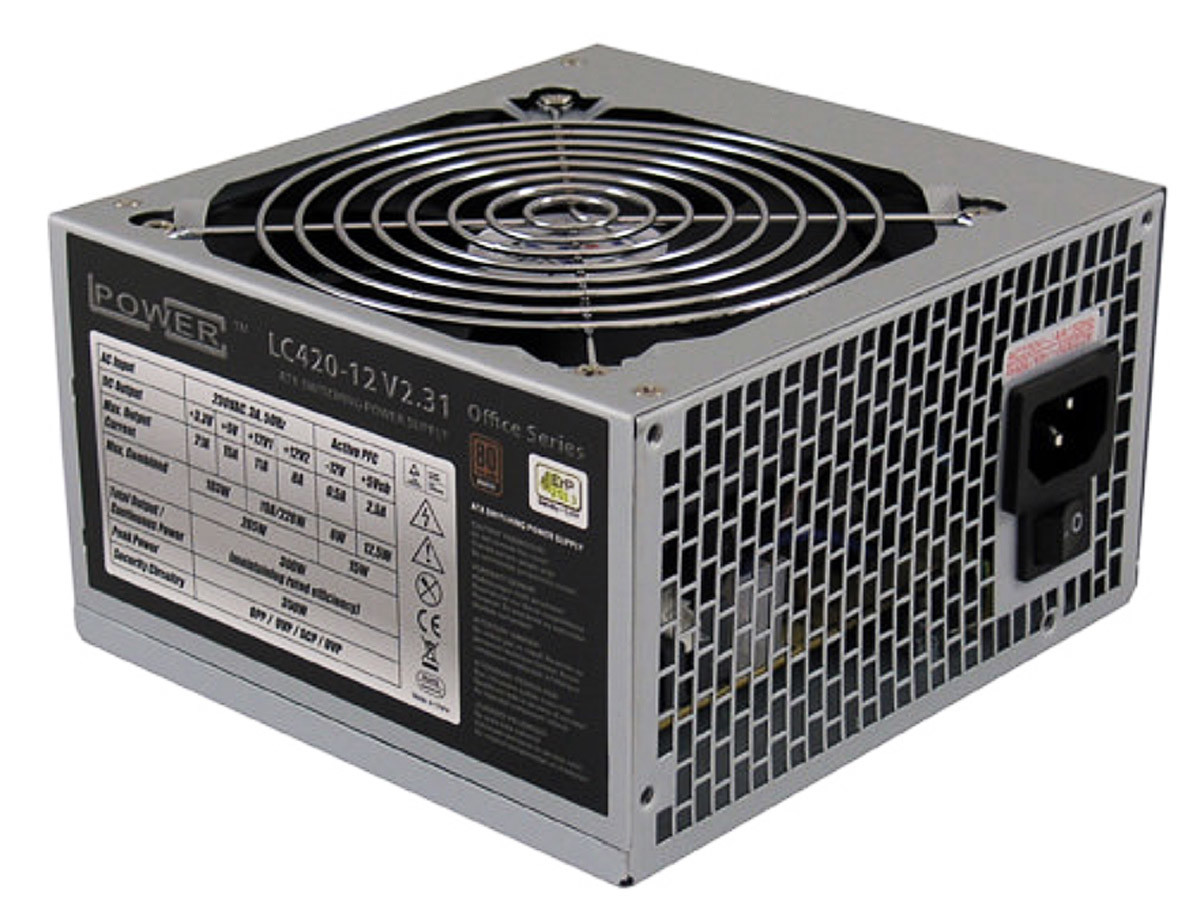
Unfortunately, there are no longer any usable 250 W ATX power supplies available. A power supply with an output rated much higher than necessary will be operating below its optimal level of efficiency. I chose a 350 W LC-Power LC420-12 (Figure 7) which is a compromise but costs just € 25. Its connections comply with the ATX standard V2.31. The power supply runs with an efficiency rating of 88% and is very efficient in sleep mode. Its integrated 120 mm cooling fan is not too noisy (generally the larger the fan the quieter it runs).
It's an open-and-shut case
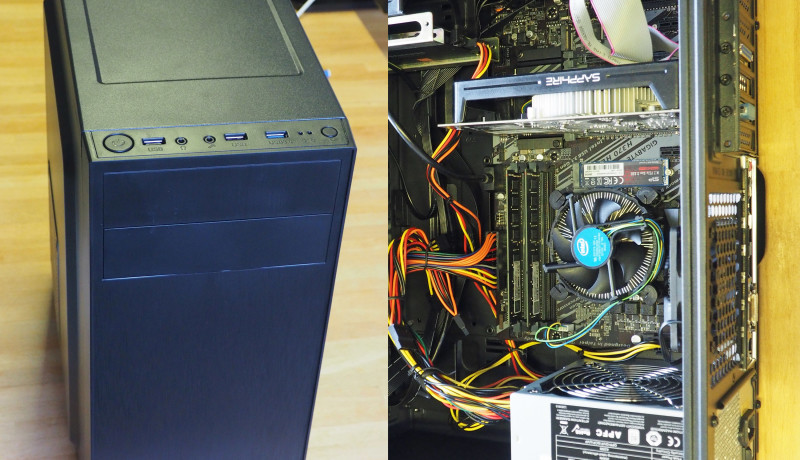
The case for the PC is more or less a matter of taste. You could really go to town here but I opted for the Aerocool model CS-1103, no frills, but good value at €20 . It has two USB 2.0 and one USB 3.0 socket on the front and also has a black aluminium front panel (Figure 8). What more could you want?
Odds and ends
The graphics card already mentioned is a Radeon 560 from Sapphire with 2 GB RAM. That is enough for a 4K monitor with smooth 60 Hz. In addition, there was a simple 90 mm fan with low speed for the back of the case. If you need to shift loads of air, it would be better to choose an enclosure with more cut-outs for several 120 or even 140 mm fans. Finally I wanted to make use of the serial and parallel output port header pins available on the motherboard — you never know when you will need these in the lab environment — so I fitted a slot plate mounted with the connectors including the ribbon cables and header plugs. An emulated serial interface using a USB port often causes problems in situations where lots of fast transfers consisting of relatively few bytes are required.
Assembly
It’s usual for most of the components to be supplied in bags with an antistatic coating. A professional work bench will provide an earthing point to connect a (high impedance) conductive wriststrap via a flexible coiled wire.
You can also take some simple precautions to reduce the risk of accumulating a static charge on your body. Firstly do not slide or walk across synthetic floor coverings immediately before handling static-sensitive parts. Sit at a bench and touch a surface like a metal instrument case that has a connection to earth to disperse any charge. Wear clothes made from natural (not synthetic) fibres. Working in an environment with a humidity level of at least 30% will reduce the risk of a static charge accumulating on any surface.
Before the motherboard is installed in the case first mount the CPU in its socket. Once sure your body is not harbouring any electrical charge you can release the lever over the CPU socket, remove the black plastic cover and place the CPU on its socket. Notches and markings on the CPU package ensure that it’s difficult to fit it the wrong way round. Once in place and level carefully bring down the lever to lock the CPU in place. The motherboard can now be positioned and fixed in the case with screws. The case usually has a bag with six to nine screws included.
Now we can mount the CPU cooler in place. Its heat-conductive surface already has a coating of thermal paste (almost always too much). Press the cooler onto the CPU, twist it slightly and pull it away again, use a tissue to wipe away any paste sticking to the CPU. Now the amount of paste remaining should be about right. I decided to dispense with the supplied paste completely and used a better product; it contains metal-particles to improve heat transfer; I used a hobby knife blade to spread it thinly over the surface.
Now the SSD and the two RAM modules can be slotted in place. The manual explains which sockets should be used together so that RAM interleaving works. Now take some care to connect up all the cables in the case according to the manual.
Run the power leads from the PSU to the boards. Note that the six-pin (2x3) connector from the PSU usually plugs into the graphics card. The additional 12 V supply for the board requires a 4- or 8-pin connector. This is very important!
The graphics card is now plugged into the PCIe slot with 16 lanes; this is the one nearest the CPU.
Once you are happy everything is connected as it should be turn the PC on and watch as the BIOS messages appear on the connected monitor. Windows 10 installs without problem in the standard configuration but other OSs may require a certain amount of tweaking.
First impressions indicate that this low-cost lab PC runs almost as fast as my much more expensive main PC. Now I need to install and configure all the necessary software packages, experience has shown that this phase of the build usually takes significantly longer than the time needed to put the PC together.
Want more great Elektor content like this?
Then take out an Elektor membership today and never miss an article, project, or tutorial.
Discussion (3 comments)