
Raspberry Pi as Graphics Card for a Laptop
on
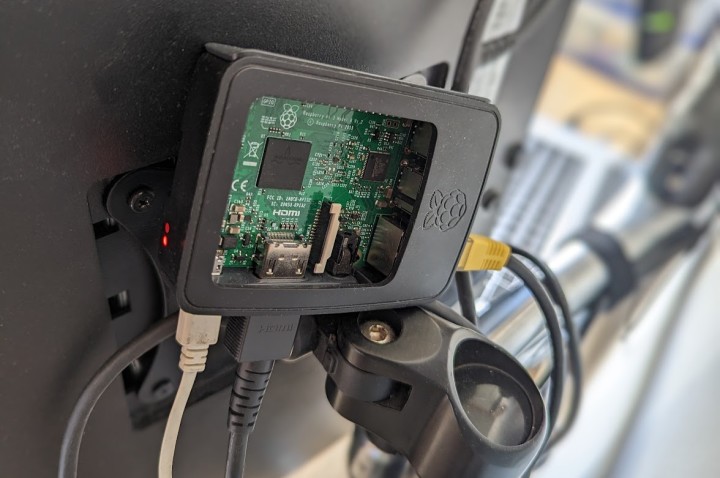
Problem: Pierre Couy, a software developer and tinkering enthusiast, was faced with a problem: He bought a new laptop, and it didn't have enough graphics outputs to bring his extra external monitor into his workflow.
He did some research, couldn't find a turnkey solution, so he rolled his own. Now, he brings us some detailed instructions on how to use a Raspberry Pi to extend the display of a laptop or desktop computer. The process involves connecting the Raspberry Pi to the computer via Ethernet and configuring the Pi to act as an external graphics card with HDMI output.
It was not easy: The image he wanted output to the external monitor had to be encoded by ffmpeg (the "Swiss Army knife"), transferred to the Pi, where it was decoded — all while trying to get by with as little latency as possible.
Fortunately, Couy's blog post includes step-by-step instructions, as well as screenshots and code snippets, to make the process as easy as possible. The page also includes a list of required hardware and software, as well as some troubleshooting tips in case you encounter any issues.
While the page is a valuable resource for anyone who needs an additional monitor for their laptop but doesn't have the outputs, there's also the GitHub repo if you want to hit the ground running and don't have the patience for clear but lengthy explanations.
If you want to see it in action, check out his YouTube video:
Discussion (0 comments)