
Build your own 3D printer (2) — How 2 start your design?
November 28, 2011
on
on
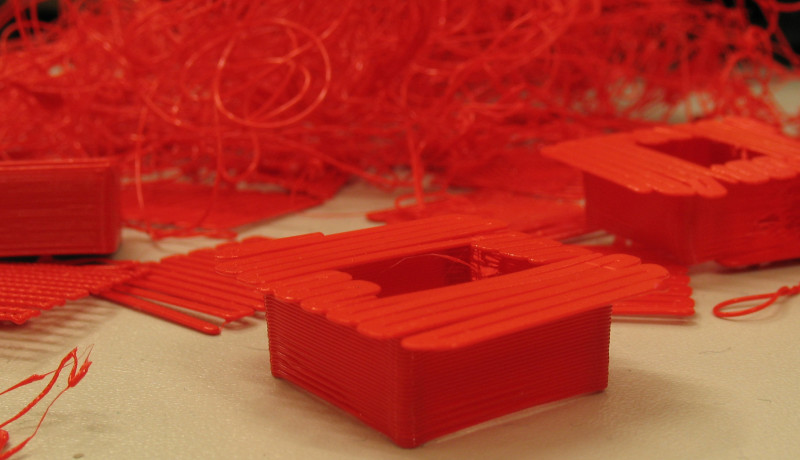
Follow Elektor design engineer Chris Vossen as he builds his own 3D printer
After our brief introduction on 3D printing you might wonder, “That’s all very nice & all, but how do I draw or design my 3D object?” The answer is not too difficult: it all starts with software. CAD software (Computer Aided Design) to be more precise. Or better yet: any software that can output an STL file (Stereo Lithography) is suitable for this task. Examples include QCAD, Blender and even Sketch Up with the use of a plugin. This STL file describes an object as a triangular surface geometry that’s needed in a second software process. So your first step is to design your project in CAD.
Once you’re done with your three dimensional design, you are ready for step two. This ‘second stage’ requires the aforementioned STL file. Use the export function of your CAD software to save your project as an .stl file. With this digitized triangulated design you can then proceed to load your project into a CAM program (Computer Aided Manufacturing). This software is needed to translate your design into g-code, the industrial norm for controlling a CNC system — which a 3D printer basically is. We used Skeinforge for that. But you may choose any other suitable program for the task.
Within this CAM software you have to define various parameters of the final printing process, like speed of the printing head, width of the printed material, temperature of the printing nozzle, speed of the plastic feed (we’re printing with plastic), et cetera. This all gets encoded into the g-code. Besides that, g-code describes what actions have to be taken; something like: 'start at point A and print a line to point B'.
Finally, the g-code is loaded into the hardware that actually controls the motors and relays of the 3D printer. The RepRap machine uses a special circuit with a microcontroller for this. In our case it’s a PC running Linux and a program called EMC2. This program uses the parallel port to drive the printer’s motors.
Now you are all set to do a ‘dry run’ to see if you’re in the ballpark of what you wanted to design or not. If you worked meticulously, you should now be ready for physically printing your design in 3D. For that of course, you need the ‘real thing’— a 3D Printer!
So we’ve now established the design flow — idea, designing in CAD, converting, setting parameters, printing —. Up next: hardware!
Photo: Thijs Beckers
Read full article
Hide full article
Discussion (2 comments)