
Review: M5Stack – an end-user approach to ESP32 prototyping
Robust prototyping
The modules are stacked by means of a 2x15 2.54-mm (0.1”) pitch connector, hence the name M5Stack. And because the modules are fitted in an enclosure, the result is a good-looking device that you can install somewhere. Compare that to an ugly and fragile stack of Arduino shields!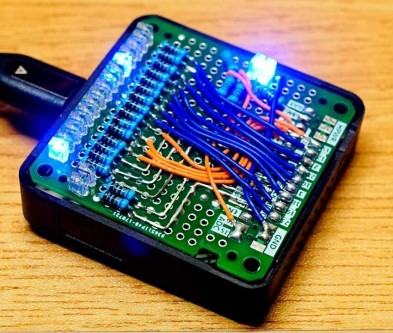
Mounting options galore
Bottom plates have four magnets inside so you can stick an M5Stack on a metal surface like a fridge. With other bottoms you can use it in Lego projects or you wear it as a watch. A stylish charging base (including humidity & temperature sensor) lets you use the M5Stack in the upright position like for instance an alarm clock next to your bed or something more sophisticated. A frame is available for flush-mounting the device in a panel.Extension connectors
The basic bottom plate has clearly labelled and colour-coded 2.54-mm (0.1”) pitch extension pin headers and sockets on all four sides. The left and bottom sides have pins, the right- and top side are sockets allowing daisy-chaining of modules.More peripherals can be connected to the M5Stack through the Grove I²C extension connector, like the sensor and actuator modules included in the Lego-compatible M5GO kit. There even is a kit to make a pocket computer and Nintendo-DS-style gaming console out of it.
Software development
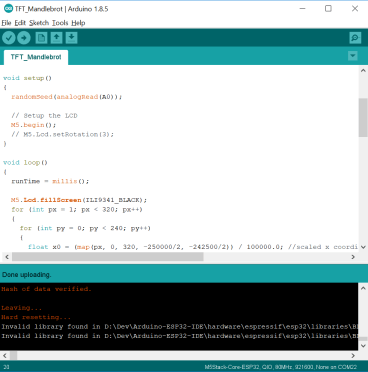
Plenty of hardware options are nice to have, but without software it will be useless. Four ways of software development are currently supported by the M5Stack crew:- Arduino IDE
- PlatformIO
- Using make
- As an ESP-IDF component
Read full article
Hide full article
Discussion (0 comments)