
STEMTera, a Proper Way to Do Arduino
STEMTera is an Arduino Uno R3
Using the STEMTera as an Arduino Uno is as easy as using an Arduino Uno and works exactly as you would expect. So what about its other features?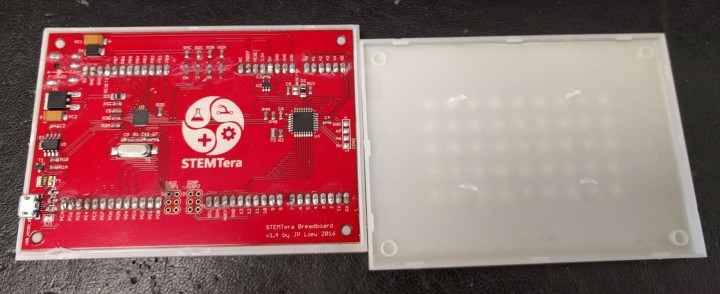
What about documentation?
I already discussed STEMTera’s strongest point; now let’s have a look at its weakest: the total lack of documentation. The STEMTera team does not include anything of the kind in the box, at least not in mine. The link to the STEMTera website is hardly visible on the bottom, but there is nothing useful on the website (yet?) besides links to places where the board is available for sale.Now who needs a manual for a breadboard or an Arduino Uno? Me, especially when you know that there are in fact two microcontrollers inside the breadboard that both are user programmable. But how?
Kickstarter:
STEMTera has completed a Kickstarter campaign, and on the campaign page we can find the specifications of the board. The FAQ contains one question: “How to access the ICSP pins?” The answer is simple: either you connect to them through the breadboard (which breadboard pins to use is not mentioned, you’ll have to refer to the datasheet of the controllers) or you take off the back of the breadboard.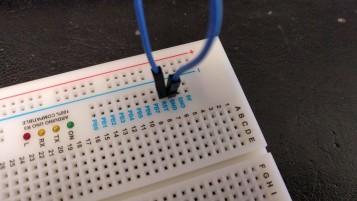
GitHub and DFU mode
These days, to find more information about a project, especially open source projects, a good place to look is GitHub, and indeed STEMTera has a few repositories on GitHub. Browsing them reveals a procedure to switch the board into DFU mode, allowing reprograming the ATmega32U2, the second controller. The procedure is simple:- Connect the board to a USB port (supposing Windows)
- Briefly short the RST pin (column 8, on the left) to a GND pin
- An Atmel USB device will show up in the Device Manager
- Use a DFU programmer to flash the new firmware into the controller
Read full article
Hide full article
Discussion (3 comments)