
Image Processing with the Nvidia Jetson Nano (Part 1): Hardware and Software
on
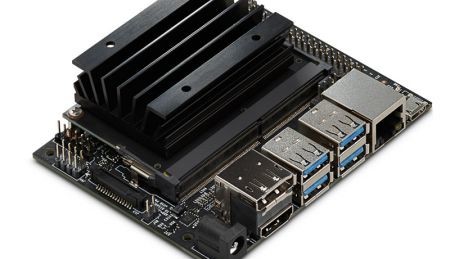
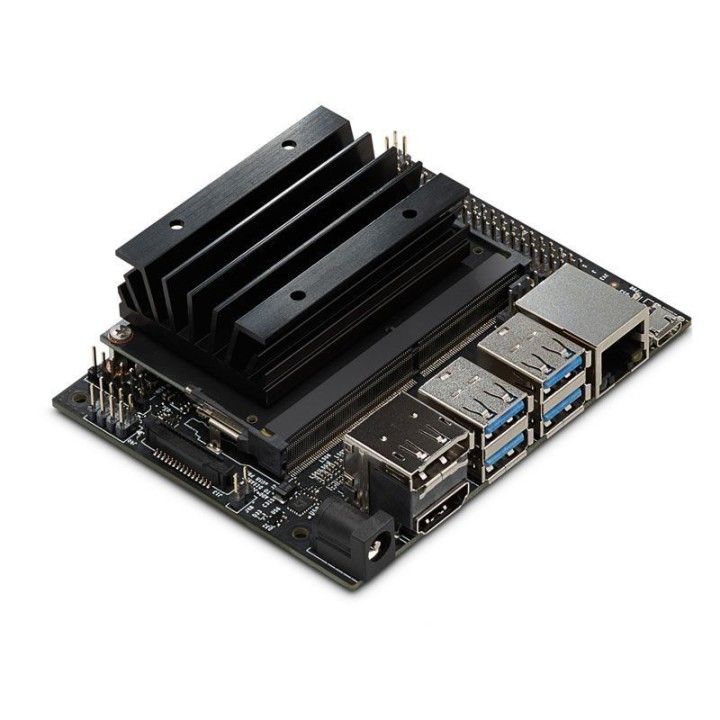
No developer should ignore the potential of artificial intelligence (AI). Tools like the Sipeed Maixduino and the Maxim MAX78000, which we have already presented in Elektor, are suitable options for taking your first steps into the world of AI. The Nvidia Jetson Nano (Figure 1) is a much more powerful hardware from the class of single board computers, equipped with a quad-core ARM processor, 4 GB RAM and a GPU with 128 CUDA cores.In this series of articles, I show you which applications are possible, for example, in the fields of image processing or robotics.
AI in Everyday Life
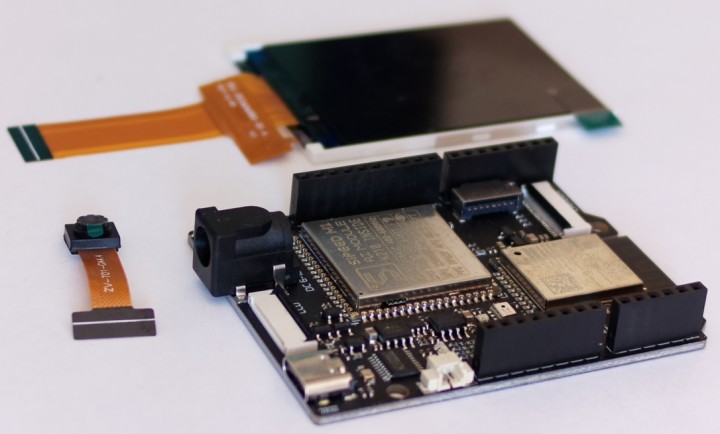
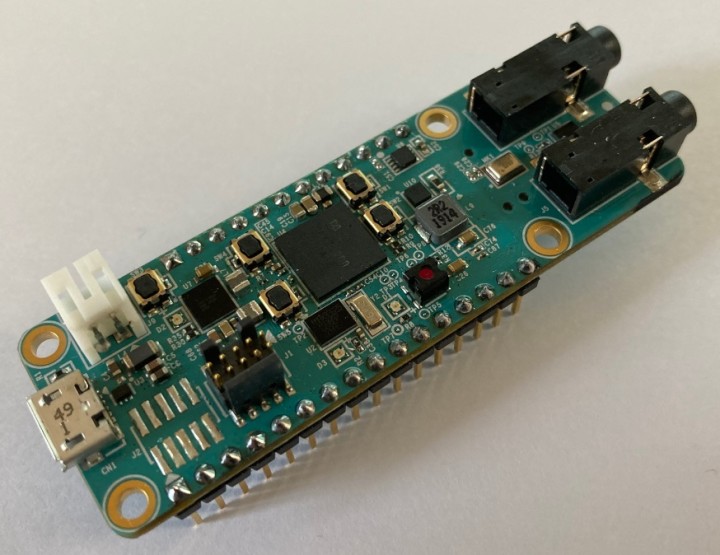
AI is finding its way more and more into our everyday lives. Neural networks make it possible to recognize objects, enhance images, and convert the words of a conversation into text. This exciting field will help shape our future. To help you take your first steps into the exciting world of AI, we have already looked at the Sipeed Maixduino (Figure 1) [1] and the Maxim MAX78000 FTHR board (Figure 2) [2].
Both boards have something in common: microcontrollers and accelerators for neural networks are built in, but with limited resources. The Nvidia Jetson Nano (Figure 3) [3] is a much more powerful piece of hardware from the single board computer (SBC) class.
Equipped with a quad-core ARM processor, 4 GB RAM and a GPU with 128 CUDA cores, the Jetson Nano is a good platform for investigating AI and neural networks. Applications range from speech recognition to classifying objects in captured video images to full-blown robot control. Plenty of “accessories” are available for all areas — for example, the SparkFun JetBot AI Kit v2.1 Powered by Jetson Nano.
The GPU Makes the Difference
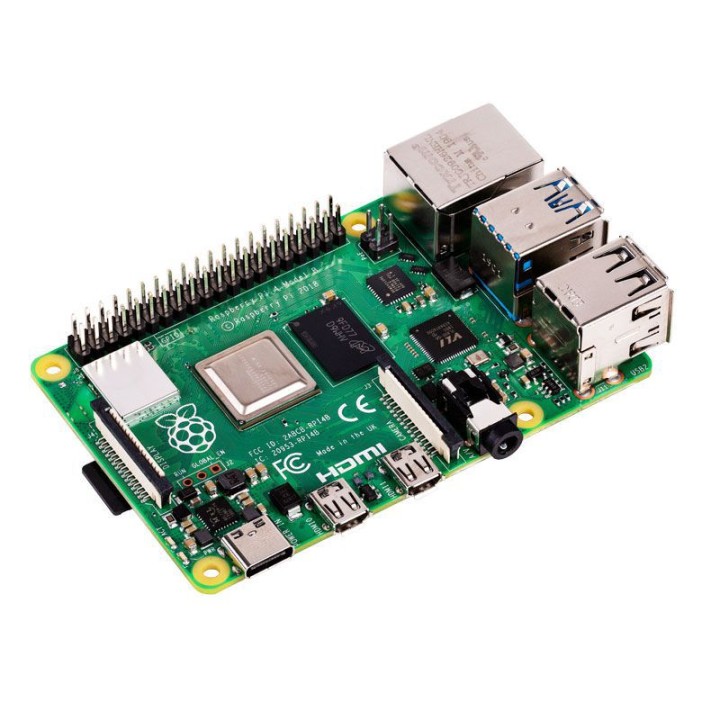
With the Nvidia Jetson Nano, a comparison with the popular Raspberry Pi 4B (Figure 4) is obvious. Both are SBCs, both have four processor cores, and both are available with 4 GB of RAM. An Ubuntu 20.04 can also be installed on both boards, and a pin header for extensions is also common to both. The Raspberry Pi 4 has a Broadcom VideoCore6 graphics processing unit (GPU). The Jetson Nano has a Maxwell-based GPU with 128 CUDA cores (GM20B). These cores give the Jetson Nano its performance advantages. The CUDA cores are programmable arithmetic units within the GPU that are not only intended for processing graphics data, but can also execute generic arithmetic operations in parallel (i.e., also those that are needed for training and applying a neural network).
Training with the Jetson Nano
Here you can see the difference from a MAX78000. The training of the neural network should be done on a Linux PC, which is best equipped with a CUDA-capable Nvidia card. PyTorch and other software tools are used for this. The Jetson Nano, on the other hand, already has all the ingredients to train a neural network itself. Certainly, this is not as fast as on a current PC with a Geforce 1660 or Geforce 1050Ti. But you can get the Jetson Nano for about €130. A graphics card, if available at all at the moment, costs twice as much.
Nvidia provides a large number of tutorials [4, 5] and, of course, software [6]. Among other things, they show how neural networks can be taught for image recognition/processing on the Nvidia Jetson Nano with the help of a webcam.
Jetson Nano and the Moving JetBot
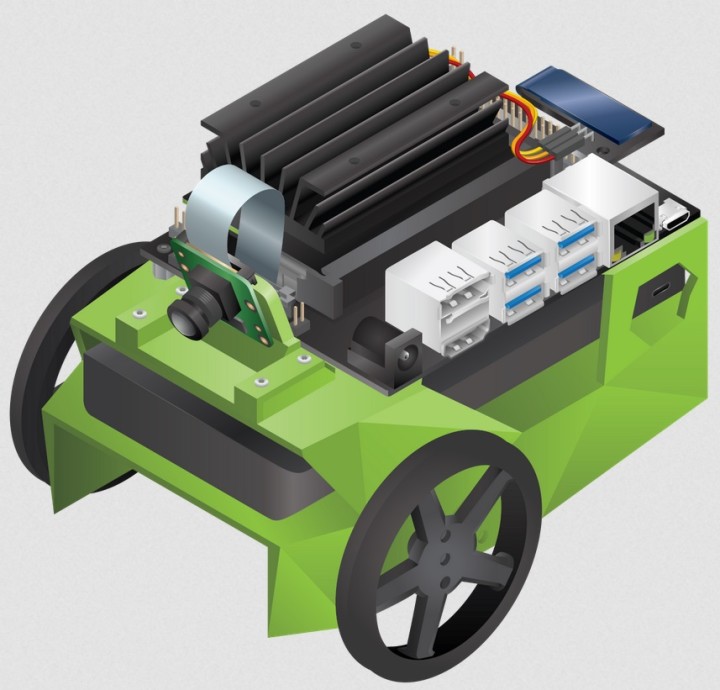
Once you are familiar with the environment, the desire for a tangible application may arise. Due to the focus on image processing, a self-driving robot suggests itself. The JetBot (Figure 5) [7] is one such robot. Maker-friendly, a parts list and 3D models are available for self-printing of parts. A moving robot with object recognition and interaction allows the intelligence of self-trained neural networks to be seen directly in action. The webinar “AI for Makers: Learn with JetBot” demonstrates how to teach such a robot to interact with its environment [8].
Development Via Web Browser
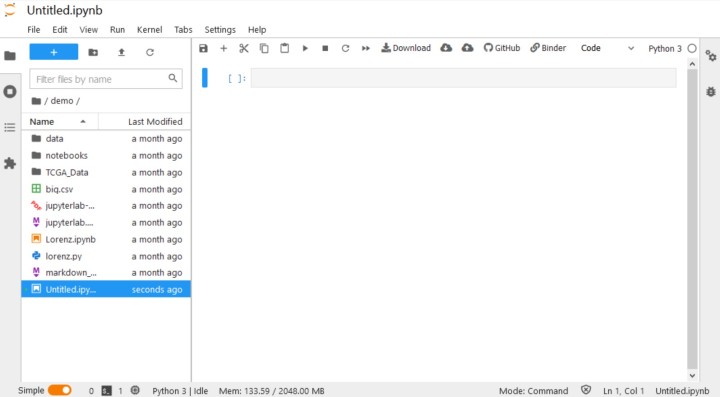
A web browser is sufficient for developing the JetBot’s software. The development environment that runs in the browser is the JupyterLab (Figure 6). It allows for the creation, editing and execution of Python scripts. This also allows for access to quite a few third-party libraries. Motor drivers or sensors (e.g., from Sparkfun or Adafruit) can be addressed directly from Python.
JupyterLab also can be used to start neural network training. It is possible to generate new training data for the neural networks in order to improve the behavior of a robot with data from the running operation and to add new functions. You always have the IDE with you in a browser. However, to develop the control of the robot and other services from scratch is time consuming and not necessary. The Robot Operation System (ROS) can be used as a flexible basis for robots of all types. It enables you to build on a defined core and a well-documented software base. However, ROS as an operating system based on Linux also allows functions such as creating maps of the environment and other actions. A suitable OS image with pre-installed ROS is available for the Nvidia Jetson and JetBot.
SparkFun's All-in-One Kit
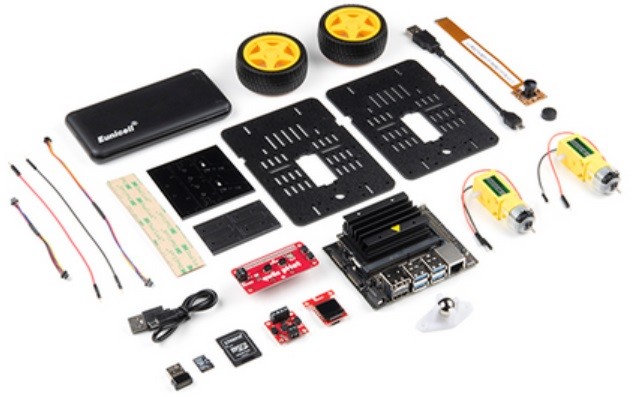
Download images, prepare the Jetson Nano, procure components for the JetBot from various sources, and possibly 3D print them? Configure the individual software parts appropriately and only then start with the topic of AI? It is easier to use a ready-made kit in order to have defined and functioning hardware right away, so that you can delve completely into the topic of AI. The SparkFun JetBot AI Kit v2.1 (Figure 7) includes all the hardware you need to get started with AI and robotics. Based on Nvidia’s JetBot, it gives you access to a large ecosystem of tutorials and software, with SparkFun’s helpful hardware documentation.

There is also no need to assemble software components. The kit contains a ready-made SD card that already includes everything necessary. The purchase of such a kit may seem expensive at around €270. However, it includes the Jetson Nano, the mechanical parts of the robot, motors, motor drivers, an OLED, WiFi adapter, camera, SD card, and all the other parts needed to get started (Figure 8).
What’s Next with the Jetson Nano?
There is much to learn and much to discover. AI shows many new exciting ways to equip a vehicle with autonomous control. For most readers, however, terms like PyTorch and ROS certainly still need to be put into the appropriate context. PyTorch takes care of modifying and teaching the AI. Like any software, PyTorch wants to be operated appropriately — and, as usual, with many programs from the Linux world, preferably with configuration files. The control of the vehicle/robot is then managed by the ROS. The handling of these two tools alone offers enough material to fill entire books. Therefore, we will slowly approach the individual components and dive deeper into the details!
Do you have technical questions or comments about this article? Email the author at mathias.claussen@elektor.com or contact Elektor at editor@elektor.com.
AI-Related Webinars
Visit Elektor's Webinars page to learn about recent and upcoming webinars about artificial intelligence, Nvidia products, and more.
Discussion (0 comments)