
PiKVM: Raspberry Pi as a KVM Remote Control
PiKVM Software Installation
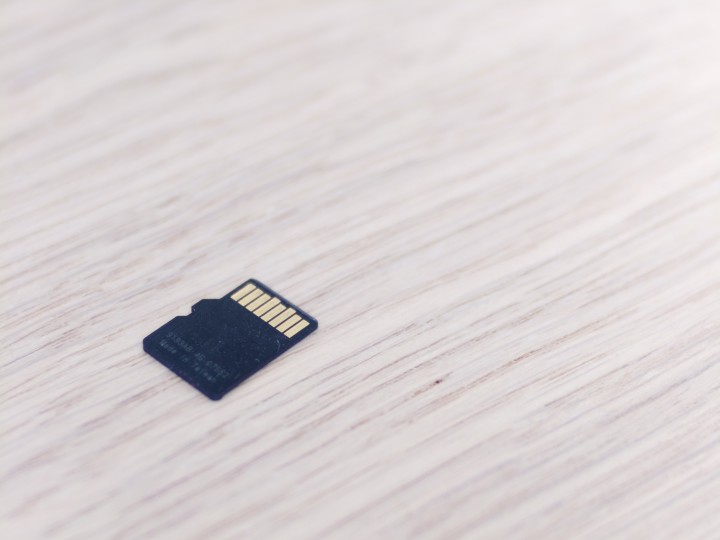
You can download the PiKVM software from the developer’s homepage. An SD card with 16 GB memory (Figure 17) is recommended for the installation. If an HDMI-to-CSI bridge is used, the Raspberry Pi 4 v2 platform image can be used for the HDMI-to-CSI bridge; if a USB-HDMI dongle is used, use the HDMI-USB dongle image for the Raspberry Pi 4 v2 platform.
The downloaded file must be unzipped with a program like 7-Zip and then written to an SD card with a tool like the Raspberry Pi Imager. This completes the basic installation and you can start assembling the hardware. If you want to take a look at the source code, you can do so in the GitHub repository of the PiKVM.
Hardware Assembly
If the CSI-to-HDMI bridge is used, it is unfortunately a bit more difficult to find a suitable case. Either someone has already built such a case or you have to help yourself with a little FreeCAD and a 3D printer. For this article, the parts are therefore installed using flying wires.
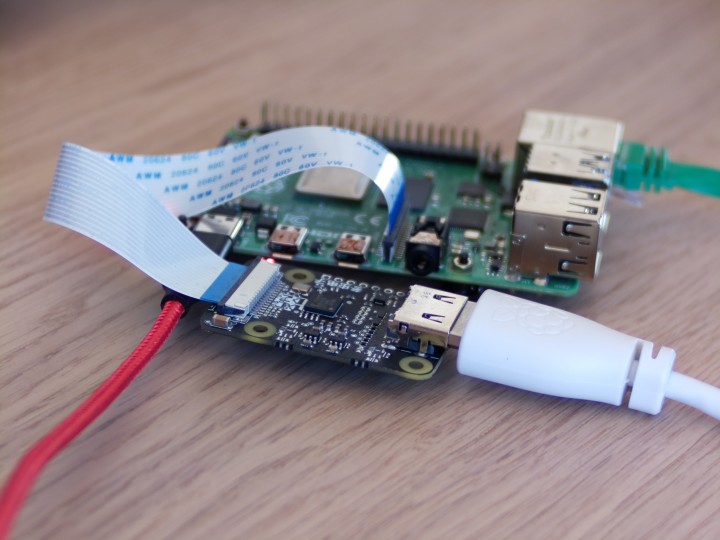
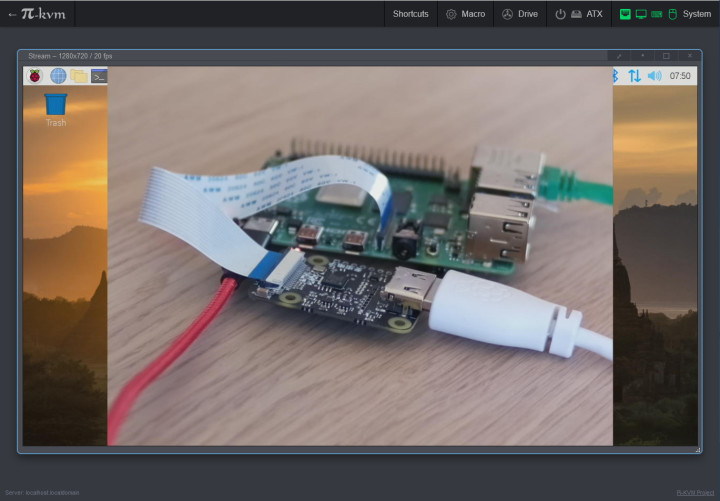
For the setup with HDMI-to-CSI bridge, you need a corresponding board and a Raspberry Pi camera cable. A suitably prepared SD card with the latest image for PiKVM must be inserted into the Raspberry Pi 4 and the HDMI-to-CSI bridge connected to the camera port. The USB-Y cable must be connected to the USB-C port of the Raspberry Pi 4. With this, the PiKVM is ready for use (Figure 18).
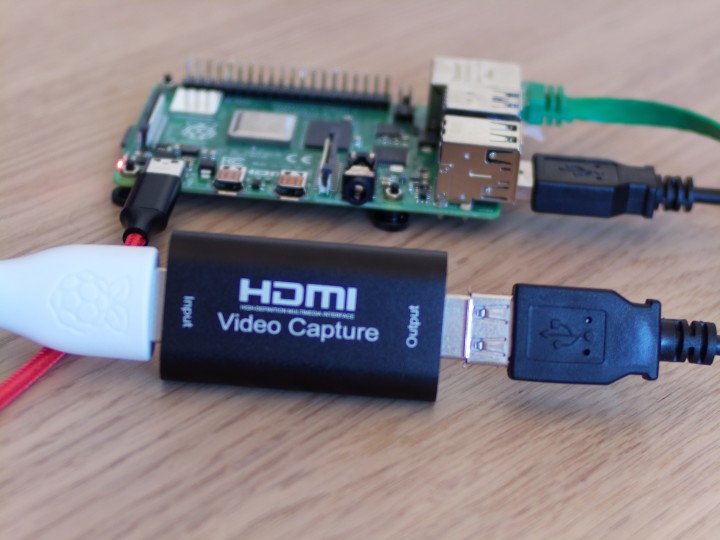
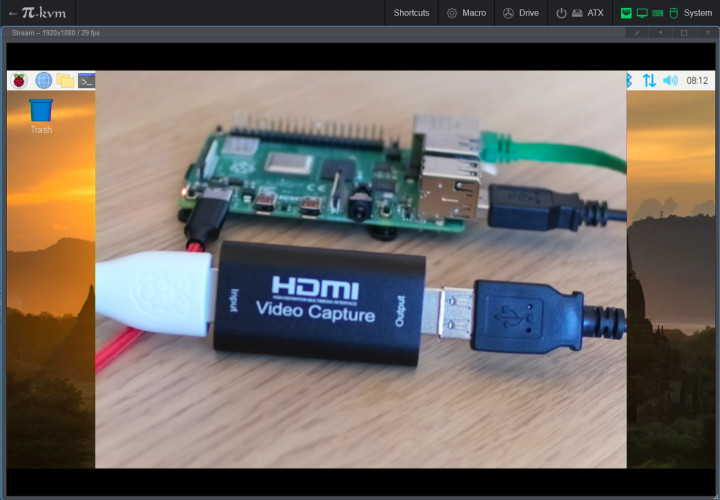
For the variant with HDMI USB dongle, this must be connected to one of the USB 2.0 ports of the Raspberry Pi 4B. If you use one of the blue USB 3.0 ports, the shown USB dongle is not recognized (Figure 19).
First Test Run with PiKVM
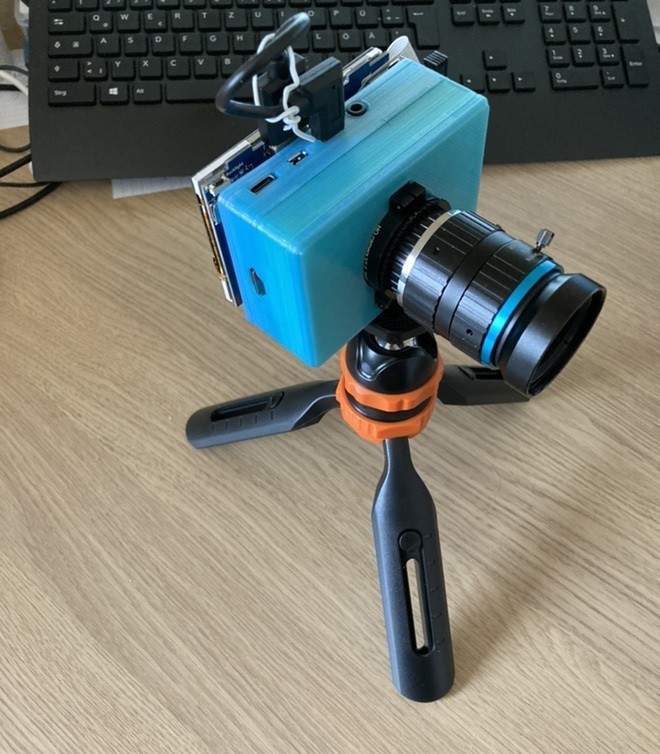
Once all parts have been assembled and, if possible, stowed away in a housing, nothing stands in the way of the first test run. I used a second Raspberry Pi 4 as a test object, which has been doing its job as a camera on my desk for some time (Figure 20). (The article about the Raspberry Pi 4 camera can be found in Elektor Sep/Oct 2021.) The Raspberry Pi 4 running PiKVM is connected to a wired network.
After the first start of PiKVM, it takes a moment because the partition is adjusted to the size of the SD card. If this process is finished, PiKVM tries to get an IP address via DHCP. It might be necessary to check in the router or DHCP server which IP the PiKVM got. With a web browser the interface of the PiKVM can then be called.
After booting, you can log in to the interface with the user name admin and the password admin. Under the item KVM the screen of the second Raspberry Pi 4 appears and both mouse and keyboard can now be operated remotely.
Figure 21 shows the web interface with the desktop of the remote Raspberry Pi, taken with the HDMI-to-CSI bridge. Figure 22 shows the same scene, although an HDMI-to-USB dongle was used here. The image quality has decreased and green edges are visible as artifacts.
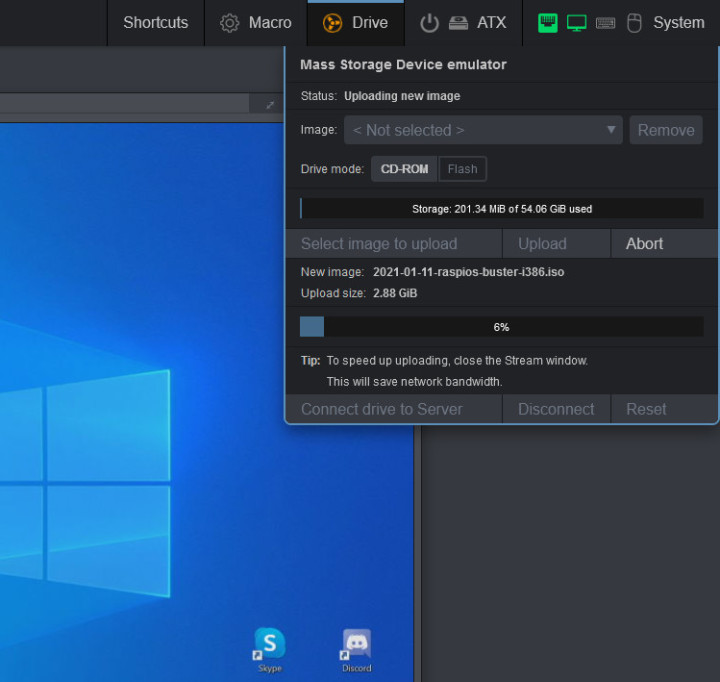
For additional configuration and options, it is worth taking a look at the PiKVM homepage or the GitHub repository. Besides mouse and keyboard, a mass storage is available as already mentioned. The Raspberry Pi 4 with PiKVM can emulate either an optical drive or a USB stick. To do this, the appropriate image can be copied to the Raspberry Pi 4 via the web interface (Figure 23).
Outlook
With the PiKVM software and a few inexpensive components, you can turn a Raspberry Pi 4 into a remote control for computers and other equipment that can be operated with a mouse and a keyboard. If you don’t want to assemble the components yourself, take a look at the PIKVM homepage. There they are working on a finished HAT for the Raspberry Pi 4 and a matching case. PiKVM and its developers are currently funded by donations through Patreon or Paypal. If you like the project, the developer would surely appreciate some recognition.
Questions About PiKVM or the Article?
Have technical questions or comments about this article? Email the author at mathias.claussen@elektor.com or contact Elektor at editor@elektor.com.
Discussion (2 comments)