
Review: Build a smart-looking GUI in minutes with Workshop4 IDE
December 7, 2017
on
on
Feature packed
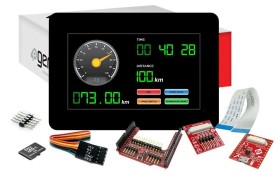
For our test drive we have used a gen4-µLCD-43DCT-CLB module sporting a 65K colour, 480 × 272 4.3” TFT screen with capacitive touch. It measures 123 × 84.5 × 8.4 mm, and has a 30 pin extension connector for wiring the module to other hardware.At the heart of the display module sits a 4D Systems’ Diablo16 chip running a soft-core extensible virtual engine (EVE), which executes your 4D Graphics Language (4DGL) programs. The Diablo16 offers PWM audio generation together with GPIO, timers, PWM and quadrature encoder inputs. Serial ports are available, a microSD card provides data storage, so plenty of peripherals to play with.
Because of all these options, the display modules can either function as a slave display in a larger system or be the brains of the application.
Introducing Workshop4 IDE
Having a feature-packed graphic display is one thing, putting it to good use is quite another. For this reason the people at 4D Systems have come up with Workshop4 IDE, a tool that lets the user design smart GUIs in little time.Workshop4 IDE comes in two versions: Free and Pro. Although we used the Pro version for this article, the free version is enough to follow along.
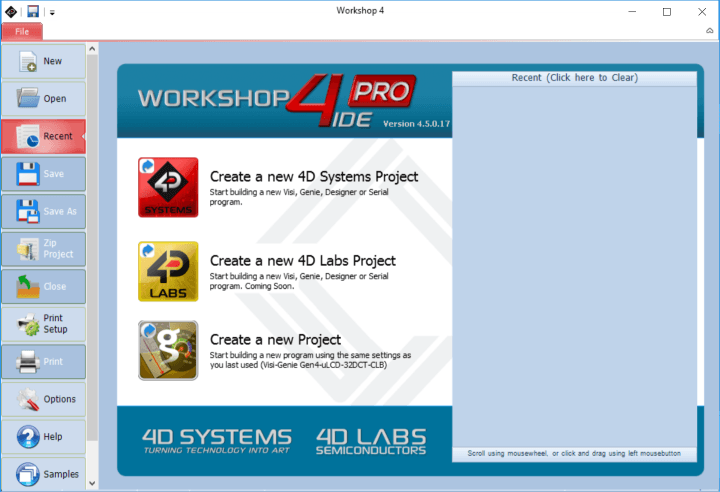
Launching the IDE brings up a screen with several buttons. If you have a licence code, you can enter it after clicking the Options button on the left and then clicking the licence tab.
Four types of Workshop4 IDE projects
After clicking the ‘Create New Project’ button, selecting your module and its intended orientation (landscape or portrait), choose the programming environment to use:- Designer — for users who prefer to type 4DGL code themselves and consequently have full control over the module;
- ViSi — a visual programming environment that allows the user to quickly set up a GUI before completing it manually with 4DGL code;
- ViSi Genie — a completely visual programming environment to design a GUI by drag and dropping GUI elements and then setting their parameters. Zero 4DGL coding required. A ViSi-Genie GUI is a slave which a host controls over a serial link;
- Serial — the module is a pure slave display, so a host must draw it by sending 4DGL primitives. For this mode to work, the SPE (Serial Platform Environment) must be loaded on the display first. This is the case for fresh out-of-the-box displays. Therefore, an ‘SPE Load’ button on the Tools menu is available to reload the SPE on a non-virgin display.
Read full article
Hide full article
Discussion (0 comments)