
Review: PaPiRus ePaper Screen HAT for Raspberry Pi
Python API
Now it is time to move on to the Python example code:$ python
>>> from papirus import Papirus
>>> screen = Papirus([rotation = 0])
>>> from papirus import Papirus
>>> screen = Papirus([rotation = 0])
Although this is what the tutorial suggests, it will fail. To make it work you should omit the square brackets or specify nothing, i.e.:
>>> screen = Papirus()
>>> screen = Papirus(rotation = 0)
>>> screen = Papirus(rotation = 0)
Everything in square brackets in the example code corresponds to optional parameters that can be omitted to use the default values. When specified, do this without typing the square brackets. Seasoned Python programmers probably know this, for newbies is can be quite confusing.
Display an image
First create a black-and-white bitmap file (the resolution of the 2.7” ePaper screen is 264 × 176 pixels). Using Python display it with these commands:>>> from papirus import PapirusImage
>>> image = PapirusImage(rotation = 0)
>>> image.write('/home/pi/elektor-labs-approved.bmp’)
>>> image = PapirusImage(rotation = 0)
>>> image.write('/home/pi/elektor-labs-approved.bmp’)
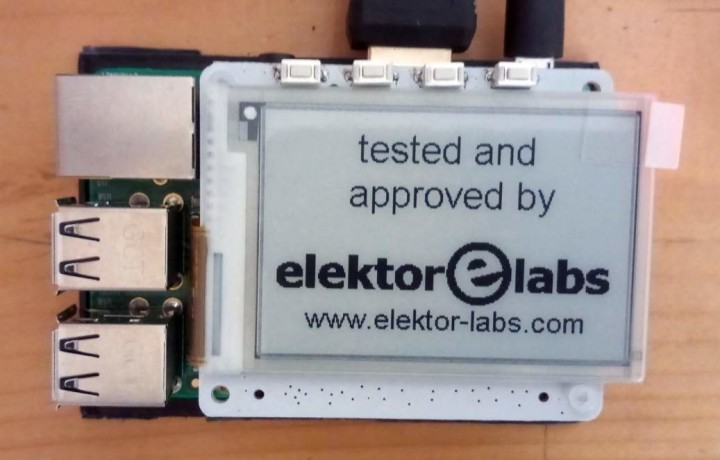
Take photographs and keep them
If you have a Pi Camera installed on your system you can use it to take photographs and display them. Because it is an ePaper display, the photograph stays on the display when the Pi is powered down. You can even remove the display from the HAT without losing it. Ain’t that cool?
Conclusion
The PaPiRus is a Raspberry Pi extension board (HAT) that tries to make ePaper technology accessible to anyone. Since it is a 100% open source product the interested user can study in detail how to use it and how things work. The documentation is pretty good, covering a lot of ground, but spread out over several websites. Even though it is unfortunate that the pushbuttons are slightly in the way of the display — an issue that could have been easily fixed on the PCB by moving connector CN1 half a millimetre — the PaPiRus HAT is a fun kit to experiment with.Read full article
Hide full article
Discussion (0 comments)